
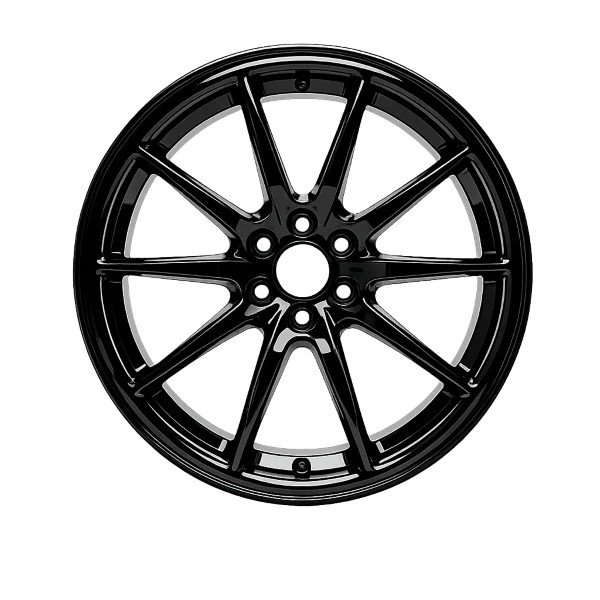
Yes, most black rim scratches and curb rash are fully repairable, either at home with basic supplies or by a professional wheel shop. The right approach depends entirely on the depth and severity of the damage. Light surface scuffs only require cleaning and touch-up paint, while deep gouges need metal filler, sanding and clear coating to restore both appearance and corrosion protection.
Key Takeaways
- Minor surface scratches on black rims can be fixed at home with cleaning, light sanding and matching touch-up paint.
- Deep curb rash with gouges and bare metal requires metal filler, graduated sanding and clear coat to fully repair.
- Always match your wheel’s exact finish (gloss, satin or matte) to ensure the repair blends seamlessly.
- Clear coat seals the repair and protects exposed metal from road salt, rust and future wear.
- Structural damage like bends, cracks or air loss is not a DIY fix — seek professional repair or replacement immediately.
Assess Black Rim Scratch Damage First
Before starting any repair, classify the damage to pick the right fix:
| Damage Level | Signs & Feel | Recommended Fix |
|---|---|---|
| Light surface scuffs | Faint streaks only in the top clear coat; smooth to the touch; no bare metal | DIY polish or touch-up paint |
| Deep curb rash | Visible gouges, dented lip, bare metal under the paint; you can feel indentations with a finger | DIY filler + paint repair |
| Structural damage | Bent rim, cracked metal, slow air leak, or steering vibration | Professional repair or full wheel replacement |
Light scuffs from car washes or small road debris only damage the clear coat and top paint layer, with no risk to the wheel’s structural integrity. Deep gouges from hard curb impacts expose raw metal, which will rust over time if left unprotected. Structural damage is a safety hazard and should never be repaired with cosmetic methods alone.
Step-by-Step DIY Black Rim Scratch Repair
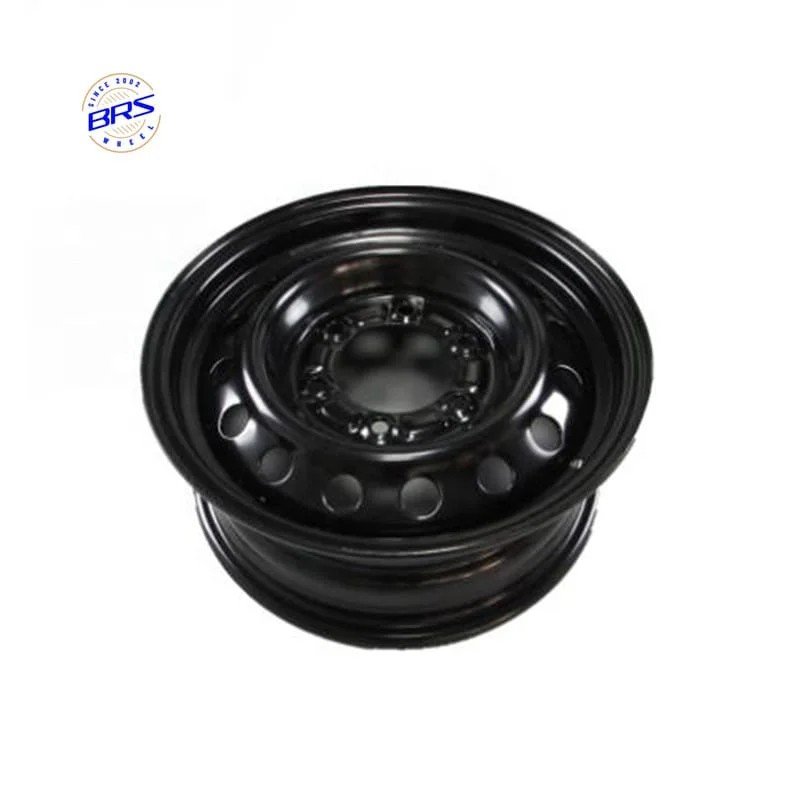
Most light scratches and cosmetic curb rash on black rims can be repaired at home with basic cleaning, sanding, filler, and touch-up paint. For bent, cracked, or heavily damaged rims, professional repair or replacement is safer.
What You’ll Need
- Wheel cleaner or degreasing soap
- Microfiber cloths and a soft brush
- 320–400 grit and 600–1000 grit sandpaper
- Wheel-safe filler or metal epoxy for deep gouges
- Matching black wheel touch-up paint
- Compatible clear coat in gloss, satin, or matte
- Painter’s tape and plastic sheeting
Step 1: Clean and Mask the Rim
Clean the rim thoroughly to remove brake dust, grease, and road grime. Let it dry completely, then mask the tire, valve stem, and nearby brake components to protect them from sanding dust and overspray.
Step 2: Sand the Scratched Area
Start with 320–400 grit sandpaper to smooth rough edges and remove loose paint. Then switch to 600–1000 grit to refine the surface and feather the repaired area into the surrounding finish.
Wipe away all sanding dust and allow the surface to dry before continuing.
Step 3: Fill Deep Scratches
For deep curb rash or gouges where rim material is missing, apply a suitable wheel filler or metal epoxy according to the product instructions. Allow it to cure fully, then sand it with 600–1000 grit paper until the repaired area is level with the surrounding surface.
Skip this step for shallow scratches.
Step 4: Apply Matching Black Paint
Apply 2–3 thin coats of matching black wheel paint rather than one heavy coat. Allow each coat to dry according to the manufacturer’s instructions before applying the next.
Match the paint to the existing matte, satin, or gloss finish for a more seamless repair.
Step 5: Apply Clear Coat
Once the paint has cured, apply 1–2 thin coats of compatible clear coat. Choose a clear finish that matches the original rim and follow the recommended curing time before driving or washing the vehicle.
Tip: If the rim has exposed bare metal, use a suitable primer or corrosion-protection product before painting. For cracked, bent, or structurally damaged rims, don’t rely on cosmetic DIY repair—have the wheel inspected by a qualified professional.
Black Rim Scratch Repair Tips
Matching Your Wheel’s Black Finish
The biggest mistake in DIY repair is using the wrong sheen, which will make the fix stand out more than the original scratch. Black wheels come in three common finishes:
| Finish Type | Appearance | Repair Notes |
|---|---|---|
| Gloss Black | High-shine, reflective mirror finish | Standard gloss clear coat works well; polish after curing for a seamless blend |
| Satin Black | Soft semi-gloss, subdued sheen | Use satin clear coat only; polishing will ruin the matte texture |
| Matte Black | Flat, zero-reflection surface | Never sand aggressively or apply gloss clear coat. Use matte touch-up paint only, and avoid polishing. |
Critical note: Never use gloss paint or polish on matte black rims. Abrasion and glossy products will permanently alter the flat texture and leave a shiny, obvious repair spot. For matte damage, use a dedicated matte touch-up pen and skip clear coat entirely.
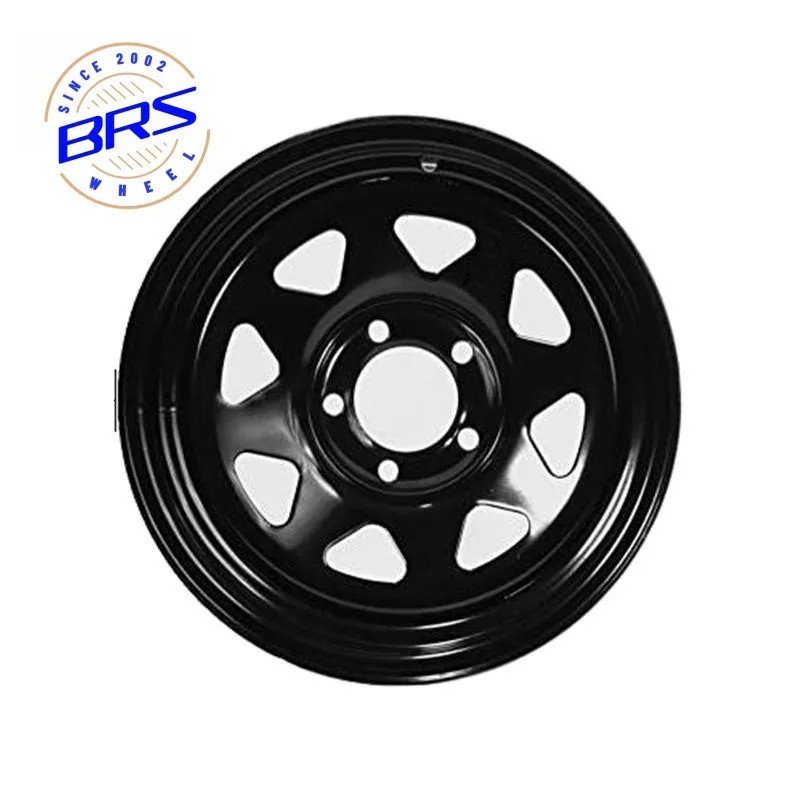
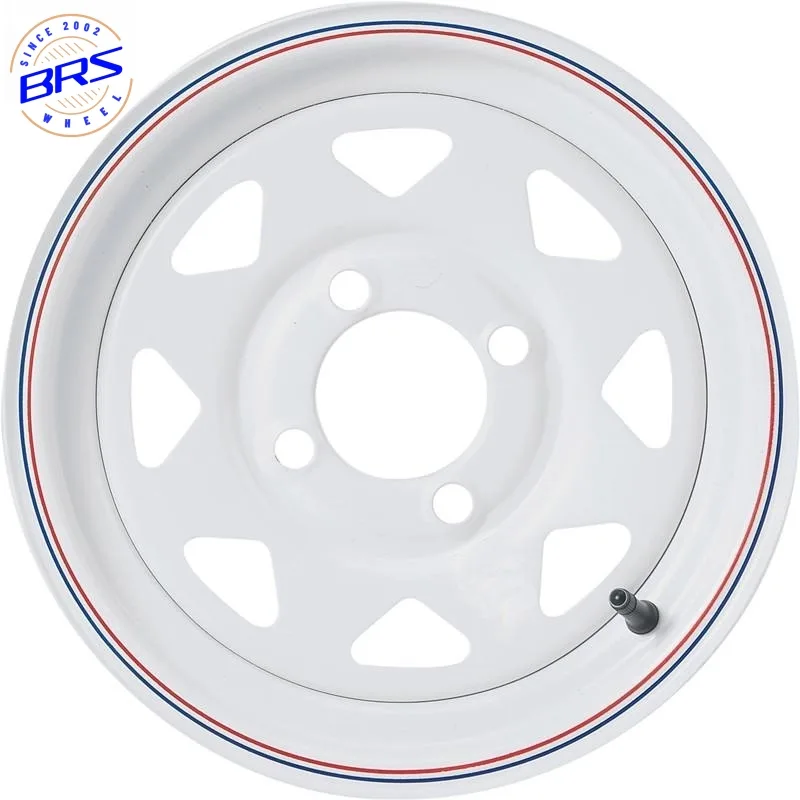
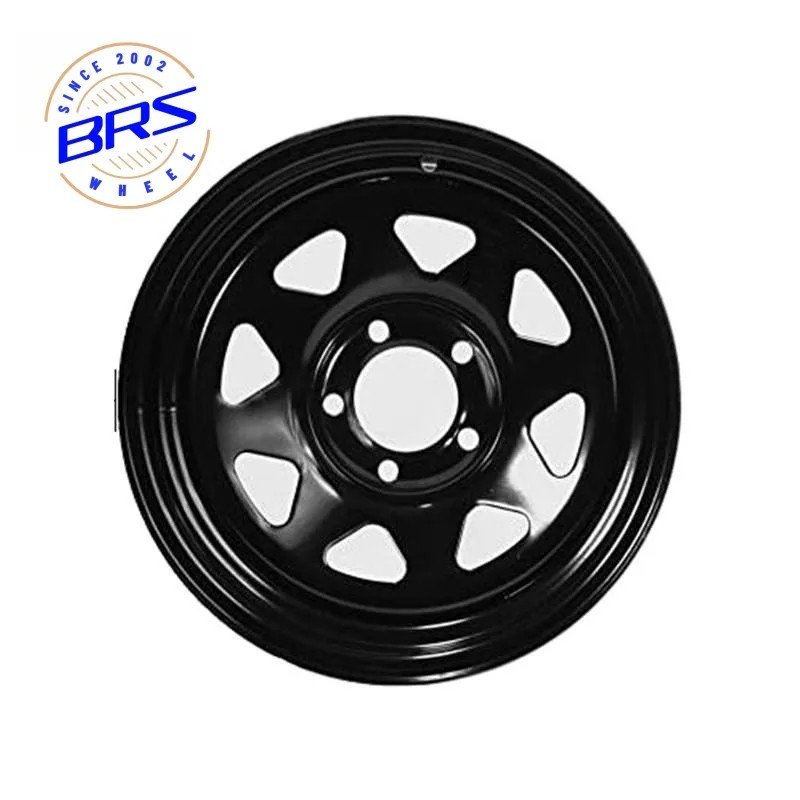
Powder-coated steel wheels, such as those from BRS, have a thick, durable coating that resists light scuffs better than painted alloy wheels. For powder coat damage, use a matching powder coat touch-up kit for the most durable, long-lasting repair.
When to Call a Professional
DIY repair works well for cosmetic curb rash, but these cases require professional service:
- Structural damage: Bends, cracks, bent lips or slow air leaks. These are safety risks and must be repaired by a certified wheel shop or replaced.
- Large or widespread damage: Damage covering more than 2–3 inches, or multiple scrapes around the full lip of the wheel.
- High-end custom wheels: Forged, machined or premium painted wheels are best repaired by a professional to avoid ruining the factory finish.
DIY vs. Professional Repair: Cost & Results
| Option | Cost Per Wheel | Time | Finish Quality | Lifespan of Repair |
|---|---|---|---|---|
| DIY kit | $20 – $50 | 4 – 8 hours | 60–80% match to factory | 6 – 12 months |
| Mobile pro repair | $75 – $250 | 1 – 2 hours on-site | 90%+ factory match | 2 – 3 years |
| Shop full refinish | $100 – $350 | 1 – 2 days | Factory-level finish | 3 – 5 years |
Conclusion
Most black rim scratches are absolutely fixable at home with basic tools and a little patience. Light scuffs are quick to touch up, and even moderate curb rash can be repaired with filler, paint and clear coat. The key to an invisible repair is matching your wheel’s exact sheen and taking the time to properly prep and sand the damaged area. For structural damage or high-end wheels, a professional wheel repair shop will deliver a longer-lasting, factory-quality finish.
FAQ
How long does a DIY wheel scratch repair take?
Plan for 4–8 hours total, including drying and curing time. Most of the time is passive waiting for filler, paint and clear coat to fully dry. Active work time is roughly 1–2 hours.
Can you just put clear coat over a scratch without sanding?
No. Clear coat alone will not hide a scratch or scuff. You must first sand the area smooth and apply matching base paint to cover the damage. Clear coat only seals and protects the finished repair.
How do you match touch-up paint to black wheels?
First identify your wheel’s sheen: gloss, satin or matte. Most factory black wheels use a gloss or satin finish. For the closest match, use a wheel-specific touch-up kit labeled for your finish type, rather than generic black spray paint.
Is it easier to repair steel or aluminum black rims?
Powder-coated steel wheels are more forgiving for DIY repair, as the thick coating hides small imperfections well. Both steel and aluminum can be repaired, but bare aluminum will corrode faster if left exposed, so always seal any repair with clear coat.
Can you fix scratches on matte black wheels?
Yes, but you must use matte-specific products. Never sand aggressively or apply gloss clear coat, as this will create a shiny spot that stands out. Use a matte touch-up pen and gently blend the edges for the most invisible repair.