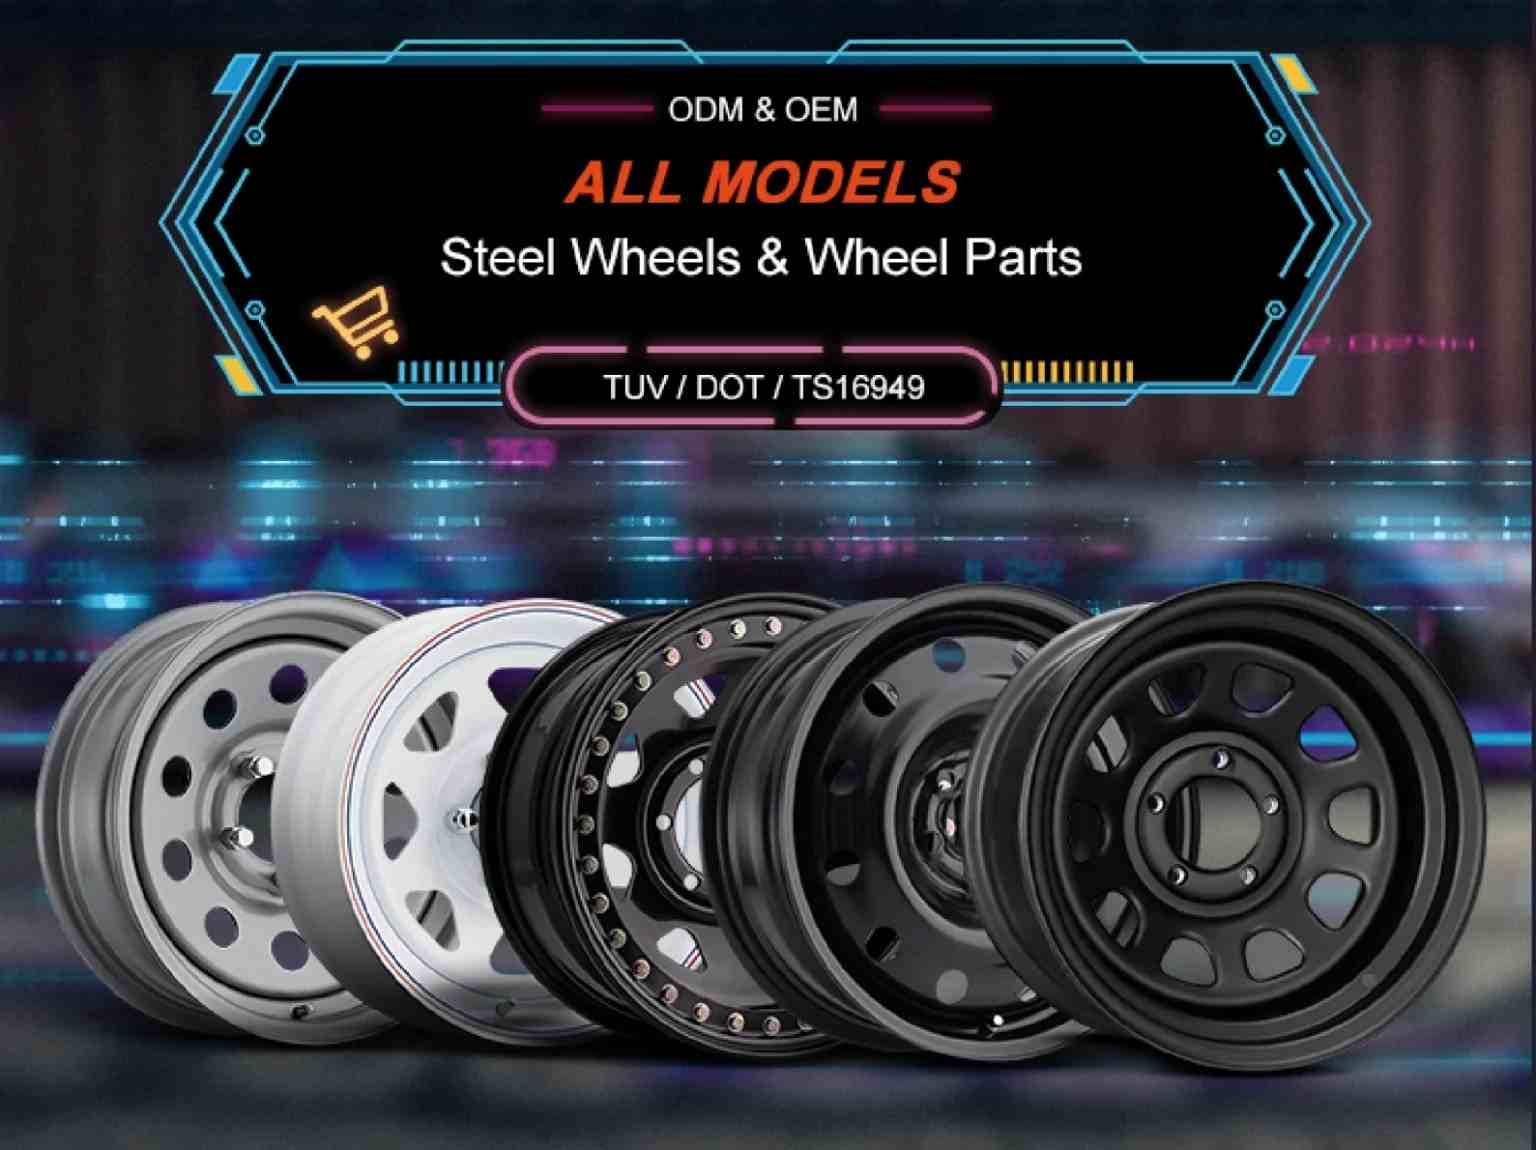
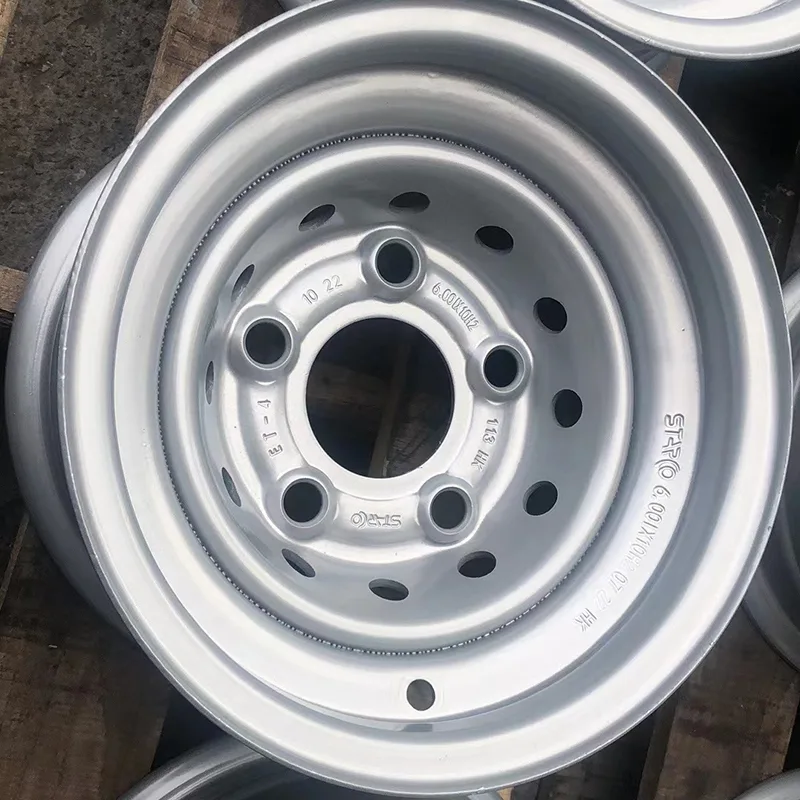

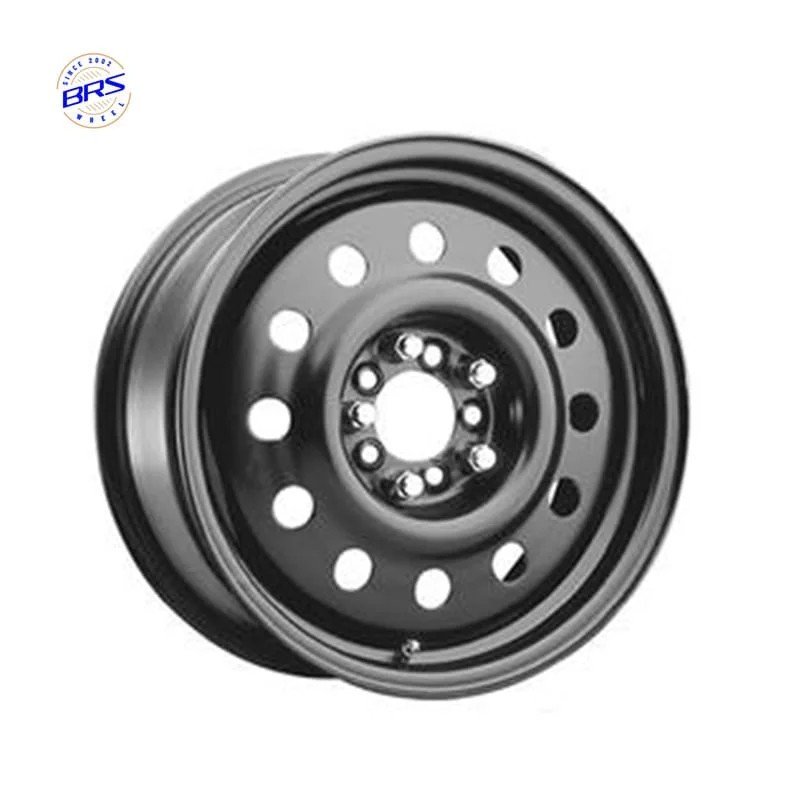
Proper wheel installation is essential for vehicle safety, handling performance, and tire longevity. An incorrectly installed wheel can lead to loose lug nuts, vibration, uneven tire wear, and even wheel detachment in severe cases. Whether you’re replacing a damaged rim or mounting a new wheel assembly, choosing a durable product from an experienced steel wheel manufacturer and following the correct installation procedure helps ensure reliable performance, load-carrying capacity, and safe operation.
Key Takeaways
- Use the correct tools and always support the vehicle with jack stands.
- Choose a wheel that matches your vehicle’s specifications and load requirements.
- Tighten lug nuts in a star pattern to ensure proper wheel seating.
- Follow the manufacturer’s torque specifications using a torque wrench.
- Check the hub and mounting surfaces for rust or debris before installation.
- Re-torque lug nuts after 50–100 miles to maintain wheel security.
- Address any post-installation vibration or noise immediately for safety.
Wheel Installation Tools and Materials
Essential Tools
You need the right tools to install a wheel safely. Mechanics and drivers use these tools to do the job right. Here are the most important tools you need:
- Jack — lifts the vehicle off the ground.
- Jack stands — support the vehicle safely once lifted; never rely on a jack alone.
- Lug wrench — loosens and tightens lug nuts by hand.
- Torque wrench — tightens lug nuts to the exact specification required.
- Tire changer — removes and mounts tires on the rim.
- Wheel balancer — checks that the wheel is properly balanced.
- Bead sealer — ensures a tight seal between tire and rim.
- Alignment machine — checks and corrects wheel alignment.
- Compressed air source — inflates the tire to spec.
Tip: Always operate the jack and jack stands on a flat, stable surface — this is one of the most common points of failure in home installations.
Choosing the Right Wheel
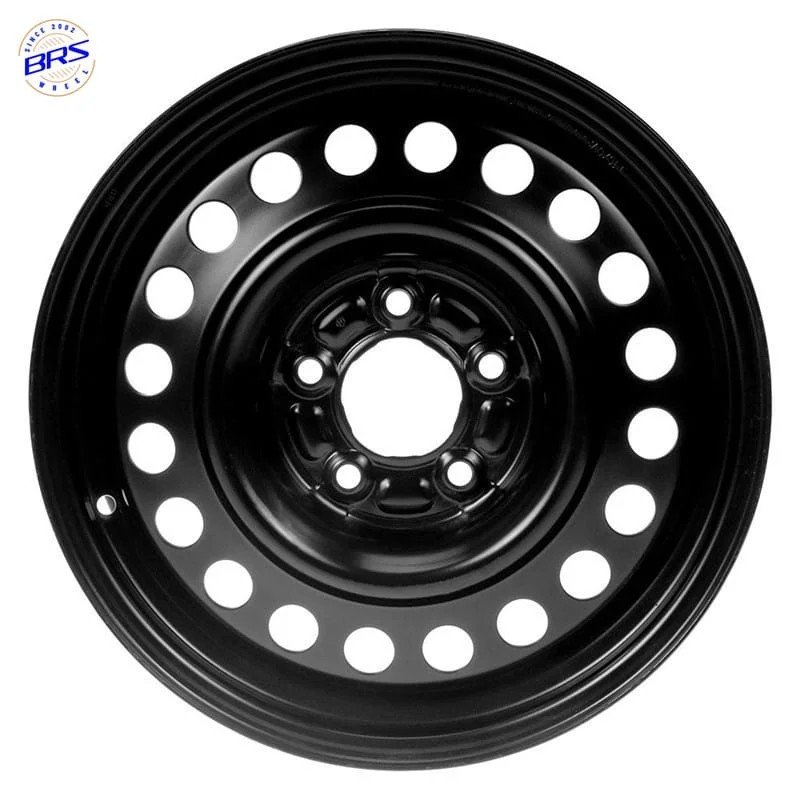
Wheel type affects both performance and durability:
| Wheel Type | Material | Key Characteristics |
|---|---|---|
| Alloy | Aluminum or magnesium | Lighter weight, dissipates heat quickly, handles well |
| Steel | Steel | Very strong, well suited to heavy use |
| Cast | Molten metal | Cost-effective, generally less strong than forged |
| Forged | High-pressure compressed metal | Strong relative to weight, high safety margin |
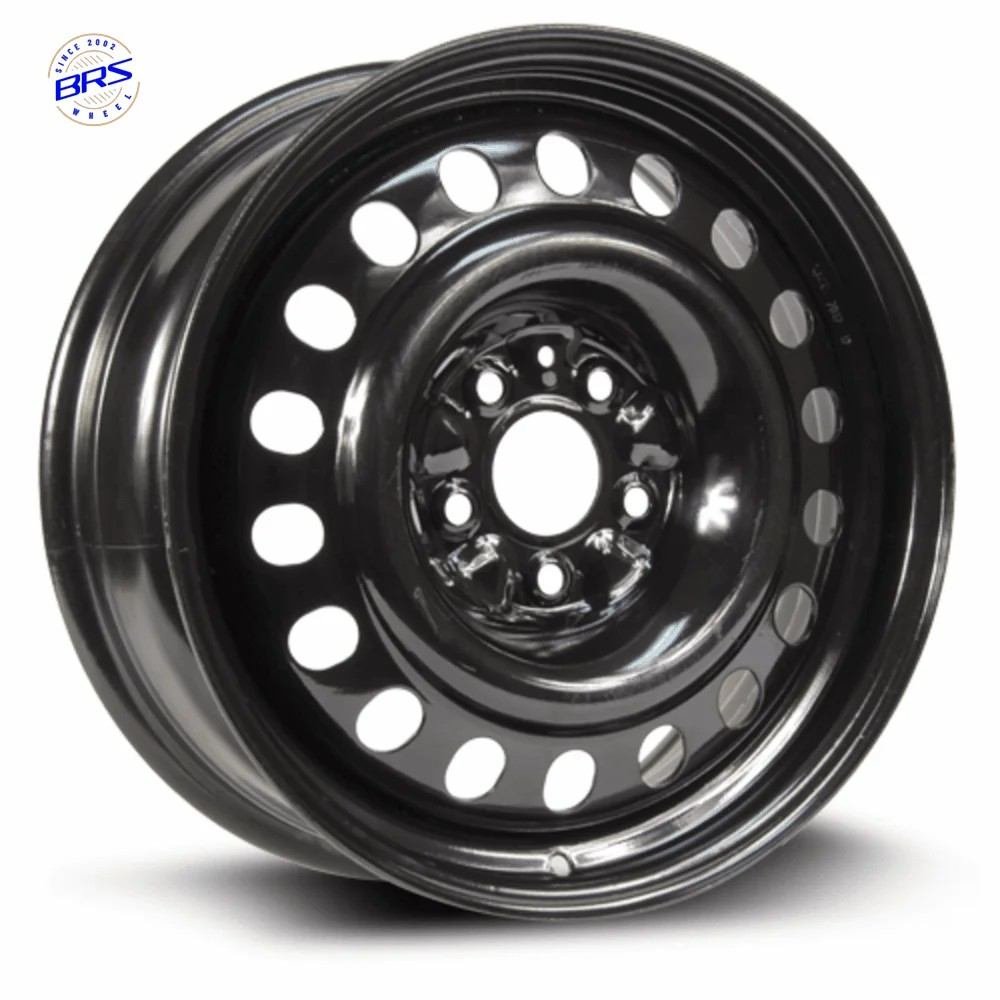
Steel wheels are often preferred for heavy-duty use because of their strength, impact resistance, and ease of maintenance. Beyond material, diameter, width, offset, and load rating all need to match your vehicle’s specifications — exceeding a wheel’s load rating is a direct safety risk, not just a performance one.
Proper Wheel Installation Steps
1. Prepare the Vehicle and Workspace
Park on a flat, stable surface, engage the parking brake, and place wheel chocks behind the tires staying on the ground. Gather all tools before starting, inspect the new wheel for damage, and test-fit it against the hub to confirm it matches the vehicle’s specifications.
Tip: Keep the workspace clear of debris — clutter is a common cause of dropped tools and avoidable accidents.
2. Remove the Old Wheel
With the vehicle still on the ground, loosen (but don’t remove) each lug nut using a lug wrench — this is far easier than trying to loosen them once the wheel is off the ground and spinning freely. Raise the vehicle with the jack, secure it on jack stands positioned correctly under the frame, then remove the lug nuts fully and take off the old wheel. Inspect the hub for rust or debris and clean the surface before continuing.
3. Install the New Wheel
Align the new wheel with the hub and slide it onto the studs, then hand-thread each lug nut. Tighten them by hand in a star pattern — working across the wheel rather than around it — so the wheel seats evenly and you avoid cross-threading. Confirm the wheel sits flush against the hub before moving on.
4. Torque the Lug Nuts
Lower the vehicle until the wheel touches the ground but isn’t bearing full weight, then use a torque wrench to tighten the lug nuts to spec, again working in a star pattern. This step is where a torque wrench earns its place in your toolkit — hand-tightening alone can’t reliably hit the precise force needed, and getting it wrong in either direction causes real problems (more on that below).
Torque by bolt/stud size:
| Bolt/Stud Size | Torque Range (ft-lbs) |
|---|---|
| 12 x 1.5 mm | 70–80 |
| 12 x 1.25 mm | 70–80 |
| 14 x 1.5 mm | 85–90 |
| 14 x 1.25 mm | 85–90 |
| 7/16 in. | 70–80 |
| 1/2 in. | 75–85 |
| 9/16 in. | 135–145 |
General torque range by vehicle type:
| Vehicle Type | Torque Range (ft-lbs) |
|---|---|
| Compact cars | 80–90 |
| Mid-size sedans | 90–110 |
| Full-size cars / SUVs | 100–130 |
| Light trucks | 120–150 |
| Heavy-duty trucks | 140–200 |
Always confirm the exact spec in your vehicle’s manual — these ranges are a general reference, not a substitute for manufacturer specs.
5. Lower the Vehicle and Final Check
Lower the vehicle fully, remove the jack and stands, then run through a final check: clear any debris from the wheel and hub, inspect both surfaces for damage, and recheck each lug nut with the torque wrench to confirm it’s still at spec.
Re-torque after 50–100 miles. Lug nuts commonly settle slightly after initial installation, and this follow-up check is what catches that before it becomes a safety issue. It’s also worth scheduling a wheel alignment after installing new wheels — it improves tire lifespan, fuel efficiency, and handling.
Troubleshooting Wheel Installation Issues
Wheel Won’t Fit or Align
Confirm the diameter and bolt count match your vehicle before assuming something’s wrong with the wheel itself. If it doesn’t fit, check the hub for rust or debris and clean it — this resolves the issue more often than people expect. If bolt holes don’t line up, rotate the wheel slowly rather than forcing it; forcing risks damaging both the bolts and the wheel. When in doubt, compare the bolt pattern and center bore of the old and new wheels directly.
Lug Nuts Won’t Tighten Properly
Dirty or rusted bolts are the usual culprit — a wire brush often clears this up. Replace any bolts that show visible damage, and always match lug nut size to the wheel. Loose lug nuts can work free from vibration and heat cycling over time; steering wheel vibration at highway speed is often the first sign. Under-torqued lug nuts also put extra stress on the remaining bolts, which in extreme cases can lead to wheel separation while driving — a torque wrench is the simplest safeguard against this.
Noises After Installation
Clicking, grinding, or thumping after a wheel installation is worth stopping to investigate immediately rather than waiting to see if it resolves on its own. Note when the noise occurs and try to isolate whether it’s coming from the wheel itself or another component. If you can’t identify the source, a professional inspection is worth the cost relative to the risk of ignoring it.
Conclusion
Proper wheel installation plays a critical role in vehicle safety, performance, and wheel service life. Following the correct installation procedure, using the specified torque values, and rechecking lug nuts after initial use can help prevent most wheel-related issues. Combined with a high-quality steel wheel solution, proper installation helps ensure long-lasting reliability in passenger, commercial, and heavy-duty applications.
FAQ
How often should I check lug nut torque?
Check after installing new wheels, again after driving 50–100 miles, and periodically every few months after that as routine maintenance.
What’s the best way to clean steel wheels?
Mild soap and water with a soft brush. Avoid harsh chemicals or steel wool, which can damage the finish, and dry thoroughly to prevent rust.
Why does the star pattern matter when tightening lug nuts?
It seats the wheel evenly against the hub instead of pulling it tight unevenly on one side first, which prevents warping and keeps the wheel properly secured.
Do all steel wheels fit any vehicle?
No — steel wheels come in a range of sizes and bolt patterns, and fit depends on matching your vehicle’s specific diameter, bolt pattern, and load rating. Always check your vehicle’s specifications before choosing a wheel, even within the same wheel type.