
Descobrir a marca do seu aro é simples se souber onde procurar — na maioria dos casos não são necessárias ferramentas especiais. A maioria dos aros tem marcas da marca na tampa central, na face frontal ou na parte interna do tambor, embora a sujidade, o pó dos travões e a tinta desbotada possam esconder esses detalhes com o tempo.
Este guia apresenta todos os métodos de identificação, desde verificações rápidas sem desmontagem até à verificação de carimbos na parte traseira, além de como identificar aros desgastados ou sem marcações com ferramentas online.
Pontos-chave
- Comece pelas marcações da tampa central e da face frontal — pode identificar a maioria dos aros sem retirar o aro do carro.
- Limpe primeiro a superfície do aro com sabão neutro; o pó dos travões e a sujidade da estrada escondem logótipos ténues, gravações e carimbos.
- A parte de trás do aro contém a informação mais fiável: números de peça da marca, dimensão, offset e certificações de segurança estão todos gravados no tambor interno.
- Se os carimbos estiverem apagados, utilize a pesquisa inversa de imagens ou fóruns de entusiastas de automóveis para identificar os aros pelo padrão e forma dos raios.
- As tampas centrais podem ter sido trocadas por proprietários anteriores, por isso verifique sempre com outras marcações para confirmar a marca.
Identificar a Marca sem Remover o Aro
Limpe primeiro o aro
Comece por limpar a tampa central, os espaços entre os raios e o rebordo externo do aro com sabão neutro e um pano macio. O pó dos travões acumulado e a sujidade da estrada cobrem facilmente logótipos e gravações ténues. Uma superfície limpa torna as letras pequenas visíveis e evita riscar o acabamento enquanto inspeciona os detalhes.
Verifique a Tampa Central
A tampa central é o local mais rápido para encontrar um logótipo de marca. A maioria dos aros de origem e do mercado de reposição tem um disco de plástico ou metal com a marca encaixado no cubo central, com um logótipo da empresa em relevo ou impresso.
Nota importante: Os proprietários anteriores por vezes substituem as tampas centrais de fábrica por outras decorativas personalizadas. Um logótipo na tampa é geralmente fiel, mas confirme sempre com outras marcações para ter a certeza. Para uma confirmação adicional, retire a tampa delicadamente com uma ferramenta de plástico para interiores — o verso tem frequentemente um número de peça ou carimbo da marca nos clips de montagem.
Procure Marcações na Face Frontal e nas Bordas
Se a tampa central não tiver logótipo, verifique a superfície frontal do aro quanto a marcações secundárias:
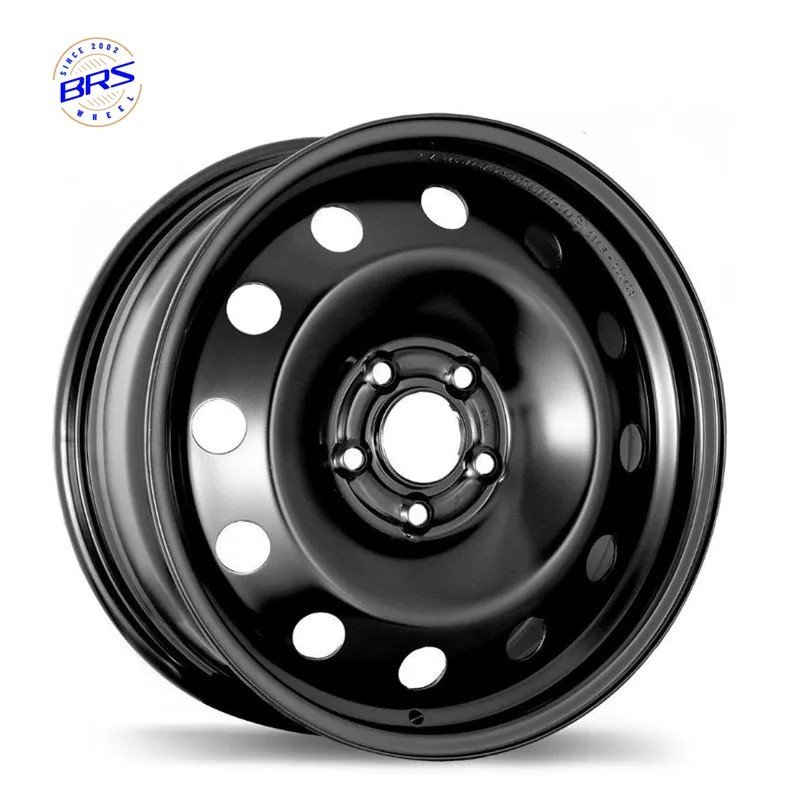
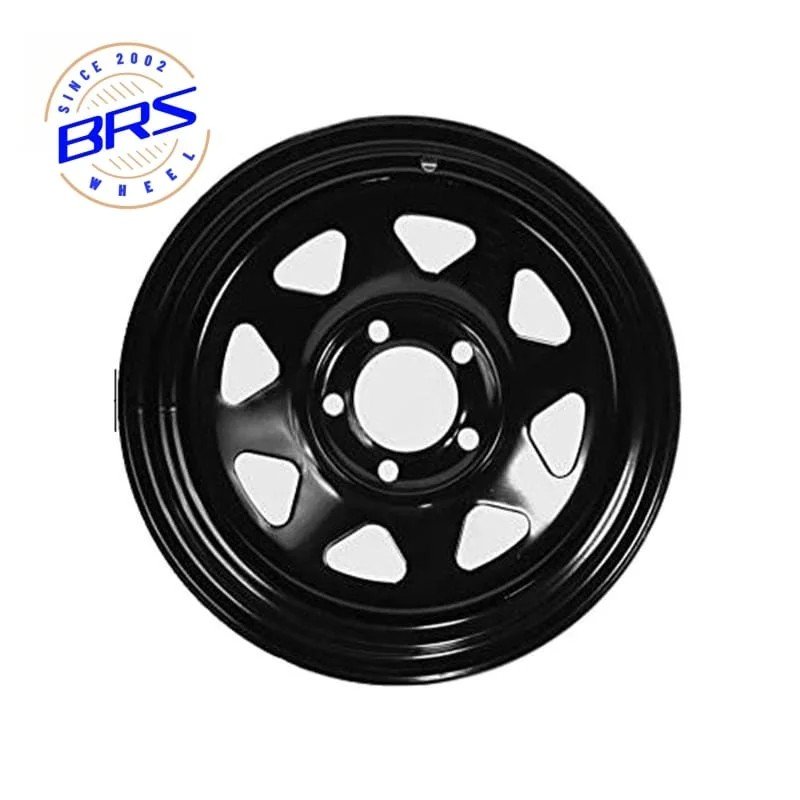
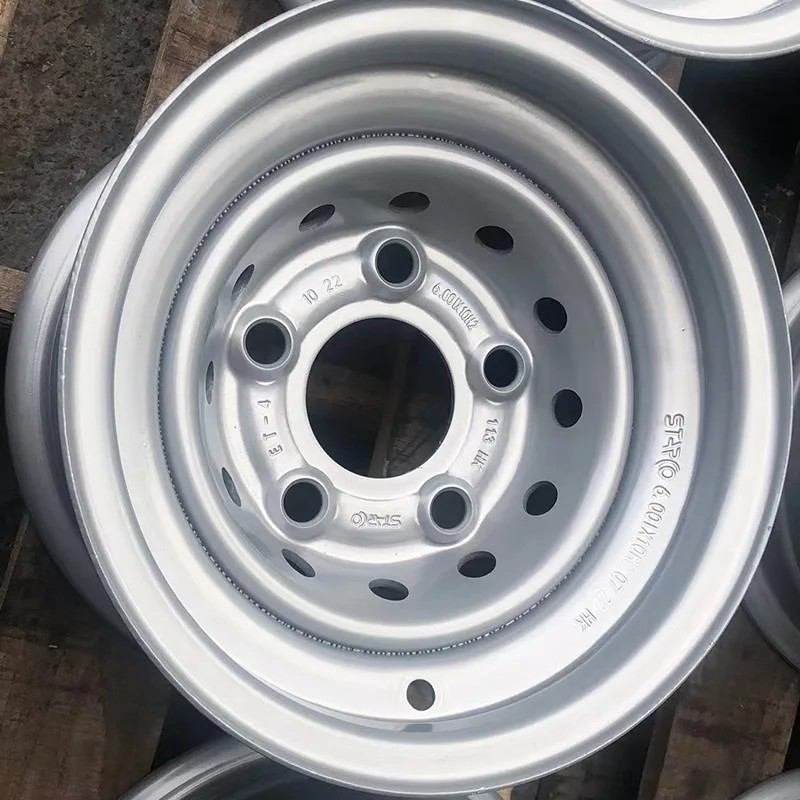
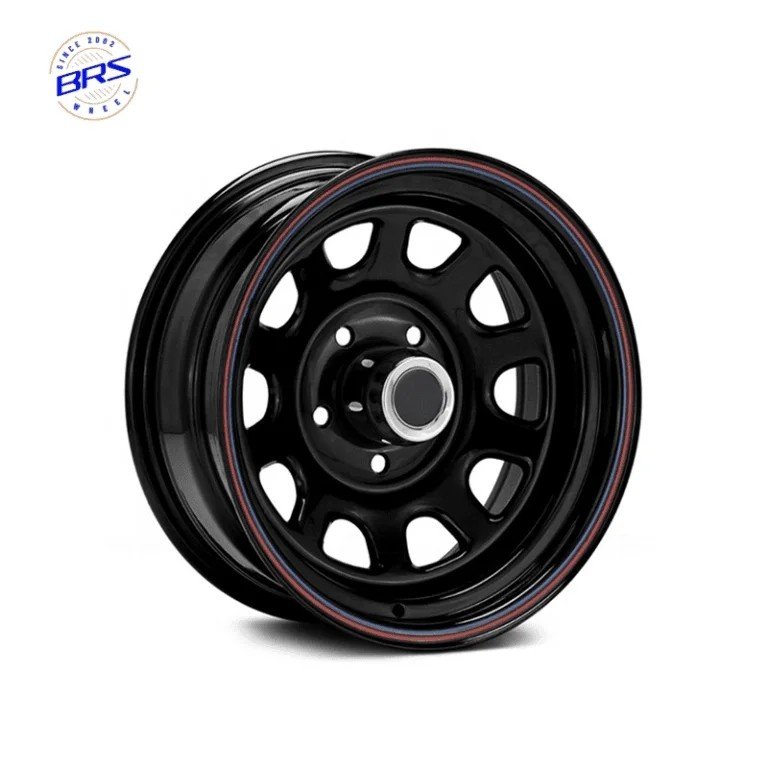
- Jantes de aço têm frequentemente carimbos da marca em relevo à volta dos furos dos parafusos ou no rebordo exterior. Fabricantes de qualidade de aros de aço como Ningbo BRS gravam marcações de identificação profundas no metal durante a produção, que permanecem visíveis mesmo sob tinta ou revestimento em pó.
- Os aros de liga leve têm geralmente pequenas gravações ao longo da borda exterior do aro, perto da válvula, ou reentradas atrás dos raios. Procure iniciais da marca, códigos do fabricante ou marcas de normas de segurança.
Use o zoom da câmara do telemóvel para ler letras desbotadas ou gastas de perto, sem cansar a vista. Anote quaisquer nomes, códigos ou símbolos que encontrar para posterior consulta em catálogos de aros online.
Verifique a Parte de Trás do Aro para Marcações Definitivas
Se as marcações frontais não forem suficientes, remova o aro do veículo para inspecionar a parte traseira — é aí que se encontram os carimbos de fábrica mais detalhados e fiáveis.
Marcações no braço e na parede interna do aro
Os fabricantes estampam códigos de marca, números de peça e informações de produção diretamente no backpad (a seção central plana) ou na parede interna do aro. A aparência das estampas depende de como o aro foi fabricado:
- Aros fundidos: Letras elevadas e arredondadas formadas durante o processo de fundição
- Aros forjados: Gravações nítidas e profundas feitas a laser ou por usinagem CNC
Limpe a sujidade da parede interna do aro com um pano e use uma lanterna para realçar estampas pouco visíveis.
Ler as especificações de tamanho, offset e padrão de parafusos
A parte traseira do aro também inclui especificações dimensionais essenciais que ajudam a confirmar a compatibilidade e a identificar a marca:
- Tamanho do aro: Estampado de forma semelhante a
18x8J, significando 18 polegadas de diâmetro e 8 polegadas de largura. - Desvio: Marcado com
ETseguido de um número (por ex. ET35). Um offset positivo significa que a superfície de montagem fica mais para fora; um offset negativo fica mais para dentro do barril. Um offset correto evita o atrito do pneu com a suspensão e a carroçaria. - Padrão de parafusos (PCD): o número de furos de fixação e o diâmetro do círculo que formam. Um padrão de parafusos incompatível provoca vibrações e uma montagem insegura.
- Capacidade de carga: capacidade máxima de peso, gravada junto ao cubo central, especialmente importante para camiões e jantes de serviço pesado.
Procure certificações de segurança e números de peça
As marcas de segurança formais confirmam que o aro foi fabricado de acordo com normas oficiais e podem ajudar a identificar a marca:
| Marca de segurança | O que significa |
|---|---|
| DOT | Cumpre as normas de segurança do Departamento de Transportes dos EUA; inclui o registo do fabricante, a capacidade de carga e ensaios de resistência. Obrigatório para uso em via pública nos EUA. |
| JWL | Norma japonesa para aros de liga leve; passa ensaios de flexão, impacto e circularidade. JWL-T aplica-se a aros de camiões. |
| VIA | Certificação da Vehicle Inspection Association; testes de terceiros mais rigorosos do que a norma JWL, a marca de segurança máxima para aros no Japão. |
A forma mais fiável de identificar uma marca é através do número de peça da fábrica, gravado na parte traseira do cubo. Introduza o número de peça completo num motor de busca para obter listagens exatas do produto, informações do fabricante e datas de produção. Isto funciona tanto para aros OEM de fábrica como para aros personalizados do mercado de reposição.
Utilize Ferramentas Online para Aros Desgastados ou Sem Marcações
Se todas as marcações estiverem desgastadas ou ilegíveis, utilize estes dois métodos para identificar o aro pelo seu desenho.
Pesquisa Reversa de Imagens
Tire uma fotografia clara e frontal da face frontal completa do aro (limpe primeiro a poeira dos travões). Carregue a fotografia num motor de pesquisa reversa de imagens. A ferramenta irá comparar o padrão dos raios, a posição da válvula e a forma do lábio com milhões de imagens e devolver páginas de produto correspondentes e nomes de marcas.
Para obter os melhores resultados:
- Fotografe de frente, não em ângulo
- Tire a fotografia com iluminação uniforme e brilhante
- Recorte a imagem para mostrar apenas o aro
Pergunte em Fóruns e Comunidades de Entusiastas
Os fóruns de entusiastas de automóveis e aros têm grandes comunidades de proprietários conhecedores e mecânicos. Publique fotografias claras do aro (frente, lateral e quaisquer marcações visíveis), juntamente com a dimensão e o padrão de parafusos, e os membros geralmente conseguem identificar rapidamente a marca e o modelo.
Isto é especialmente útil para aros personalizados raros, aros vintage e modelos importados que não aparecem nos resultados de pesquisa padrão.
Conclusão
Identificar a marca do seu aro segue um processo simples, passo a passo: comece pela tampa central e pelas marcas na face frontal (sem necessidade de desmontar), passe para as gravações na parte traseira e nos números de peça para confirmação, e utilize ferramentas online para designs gastos ou sem marcas.
Verifique sempre várias marcas em vez de confiar apenas na tampa central, já que as tampas podem ser trocadas. Conhecer a marca e o modelo exatos do seu aro facilita muito a compra de peças de substituição, tampas centrais compatíveis ou um aro sobressalente com a montagem correta.
Perguntas frequentes
É possível identificar a marca de um aro sem o desmontar?
Sim, na maioria dos casos. Comece por limpar a tampa central e a borda exterior do aro para procurar logótipos, gravações ou marcas de carimbo da marca. Muitos aros têm a marca visível na face frontal, sem necessidade de desmontagem.
E se a tampa central tiver sido substituída por um proprietário anterior?
Não confie apenas na tampa central. Procure marcas adicionais na borda exterior do aro, perto da válvula ou atrás dos raios. Se ainda não encontrar uma marca, desmonte o aro para verificar o tambor traseiro, onde se encontram números de peça e carimbos de fábrica.
O que significam os números carimbados na parte traseira de um aro?
Os carimbos na parte traseira incluem o tamanho do aro (diâmetro e largura), o offset (valor ET), o padrão de parafusos, a capacidade de carga e o número de peça de fábrica. Incluem também marcas de certificação de segurança como DOT ou JWL, que confirmam que o aro cumpre as normas oficiais.
Como posso identificar um aro sem marcas visíveis?
Se todos os carimbos estiverem gastos, utilize a pesquisa inversa de imagens com uma foto frontal nítida do aro. Também pode publicar fotos em fóruns de entusiastas de automóveis — os membros normalmente conseguem identificar aros pelo padrão dos raios, pela forma e pelos detalhes únicos do design.
Um carimbo DOT indica-me a marca?
Não diretamente, mas o código DOT inclui um número de registo do fabricante que pode ser consultado para identificar a fábrica de produção e a marca. O número de peça completo no verso do aro é uma forma mais rápida e fiável de confirmar a marca e o modelo exatos.