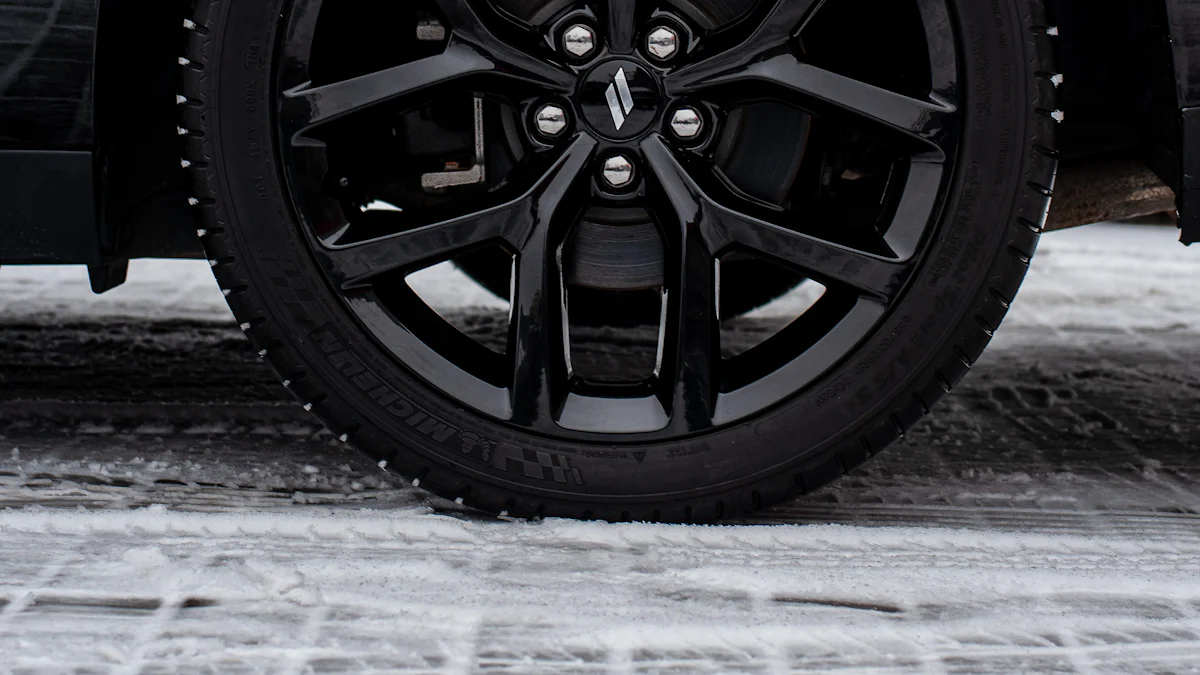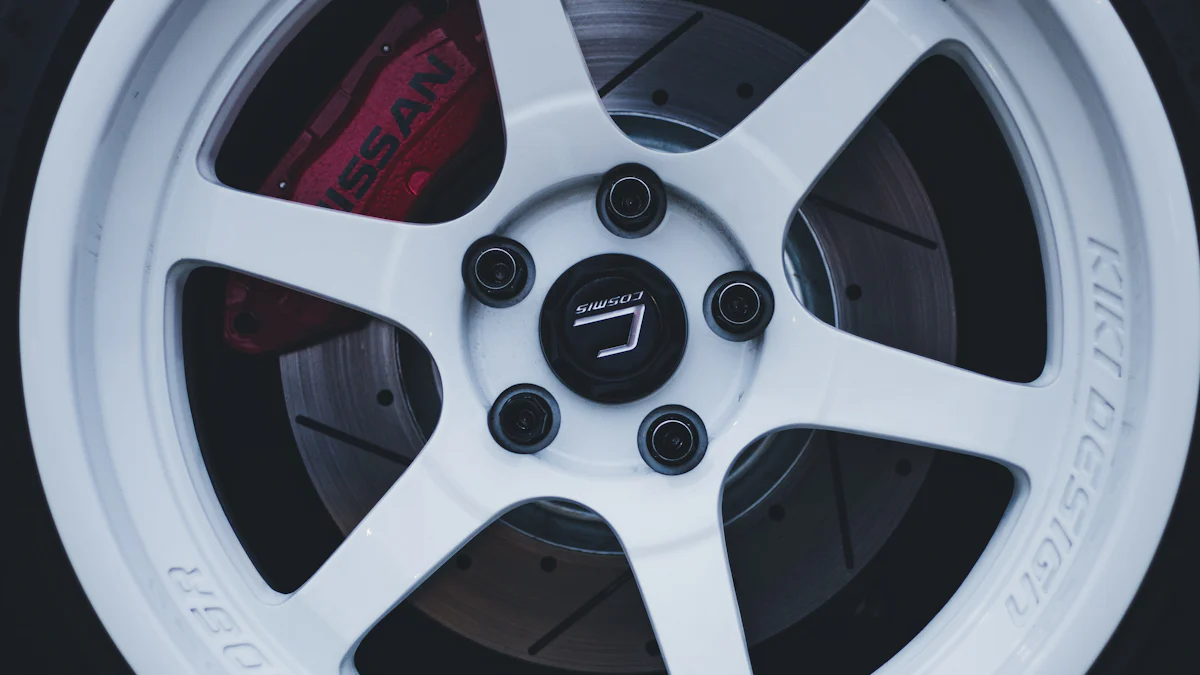
Painting winter rims is an affordable way to give your car a new look while protecting them from winter’s harsh conditions. You can achieve custom painted wheels without breaking the bank. Painting your wheels is simple with the right tools. A fresh coat of paint transforms your rims and boosts durability.
Materials for Painting Winter Rims

Affordable Paint and Primer Options
When it comes to painting your winter rims, choosing the right paint and primer is key. You don’t need to spend a fortune to get great results. Some affordable options include Duplicolor Wheel Paint, which works well with Rustoleum self-etching primer. This combination holds up even in tough winter conditions. If you’re looking for a professional-grade finish, consider automotive-quality 2K Urethane paint systems. These are durable and provide a sleek look. You can find them at Sherwin-Williams Automotive stores. With these options, you can achieve a high-quality finish without breaking the bank.
Essential Tools for Cleaning and Sanding
Before you start painting, you’ll need a few tools to prep your rims. A wire brush or steel wool is great for removing rust and dirt. For sanding, grab sandpaper in varying grits—start with coarse grit to remove imperfections and finish with fine grit for a smooth surface. A degreaser or wheel cleaner is also essential to ensure the rims are spotless before painting. These tools are easy to find and won’t cost much, making them perfect for a DIY project.
Protective Gear for Safe Painting
Safety should always come first when painting. You’ll need gloves to protect your hands from chemicals and paint. A mask or respirator is crucial to avoid inhaling fumes. Goggles will shield your eyes from dust and paint splatters. These items are inexpensive but make a big difference in keeping you safe while working on your rims.
Preparing Your Rims for Painting
Cleaning the Rims to Remove Dirt and Rust
Before you start painting, you need to clean your rims thoroughly. Dirt, grease, and rust can prevent the paint from sticking properly. Start by using a degreaser or wheel cleaner to remove grime. Spray it generously over the surface and scrub with a stiff-bristled brush. For stubborn rust spots, a wire brush or steel wool works wonders. If you notice any hard-to-reach areas, a toothbrush can help you get into those tight spaces. Once the rims are clean, rinse them with water and let them dry completely. This step ensures a smooth base for the paint to adhere to.
Sanding for a Smooth and Even Surface
Sanding is essential for creating a flawless finish. Use sandpaper with varying grits, starting with a coarse grit to remove imperfections. Gradually move to finer grits to smooth out the surface. Sanding not only removes old paint and rust but also helps the primer and paint stick better. Make sure to sand evenly across the entire rim to avoid uneven patches. After sanding, wipe the rims with a clean, damp cloth to remove any dust. This step sets the stage for a professional-looking paint job.
Masking Tires and Other Areas to Avoid Paint
Masking is crucial to keep paint off areas you don’t want to cover. You can use cardboard shields to protect the tires while painting. Another trick is applying a mix of dishwashing liquid and water to the tires. This prevents paint from sticking and makes cleanup easier. Specialized masking supplies, like rolls of paper with tape, are also handy for quick application. Some DIYers even use pink bed sheets to cover the entire assembly or a thin sheet of duct metal to shield the wheel bead. For smaller touch-ups, a handheld cardboard shield works well to block overspray. These methods ensure a clean and precise paint job.
Step-by-Step Guide to Paint Your Rims

Applying Primer for Better Paint Adhesion
Priming your rims is a crucial step to ensure the paint sticks well and lasts longer. Here’s how you can do it:
- Start by cleaning the rims thoroughly to remove dirt and grease. Use soap and water with a brush for a deep clean.
- Spray lacquer thinner on the rims and scrub with a stiff bristle brush to eliminate any oil residue.
- Choose a self-etching primer like Rust-oleum for the first coat. This type of primer bonds well to metal surfaces, giving you better adhesion.
- Apply the first coat evenly and let it dry until it feels tacky to the touch.
- Add a second coat of primer for extra durability.
- Use a piece of cardboard as a shield to prevent overspray on the tires.
Taking your time with this step ensures a smooth base for painting your wheels and helps achieve professional-looking results.
Painting the Rims with Even Coats
Now comes the fun part—painting your rims! Shake the paint can well before starting. Hold the can about 8-10 inches away from the rim and spray in a steady, sweeping motion. Apply thin, even coats to avoid drips or uneven coverage. Let each coat dry for about 10-15 minutes before applying the next one. Typically, 2-3 coats are enough to achieve a vibrant and consistent color. If you’re aiming for custom painted wheels, consider using a metallic or glossy finish for a unique look. Remember, patience is key here. Rushing can lead to uneven layers, so take your time to get it right.
Sealing the Paint for a Durable Finish
Sealing the paint is the final step to protect your rims and keep them looking fresh. A high-quality sealant not only enhances the shine but also shields the paint from dirt, grime, and harsh winter conditions. Look for a sealant with features like a super slippery coating, which reduces brake dust contamination by up to 75%. Some sealants can even preserve the factory-fresh finish for up to 8 months, even under high heat. These products make cleaning your rims easier and keep them looking great for longer. Apply the sealant evenly across the painted surface and let it cure as per the instructions. This step ensures your wheel painting efforts last through the toughest winters.
Cost-Saving Tips for Custom Painted Wheels
Using Budget-Friendly Products
You don’t need to spend a fortune to achieve stunning custom steel wheels. Many affordable products deliver excellent results. For paint, brands like Rust-Oleum and Duplicolor offer high-quality options at a fraction of the cost of professional-grade paints. Self-etching primers from these brands are also budget-friendly and ensure great adhesion. When it comes to sealants, look for products that provide long-lasting protection without breaking the bank. You’ll find plenty of options at your local hardware store or online. By choosing wisely, you can keep your costs low while still getting a professional-looking finish.
DIY Alternatives for Tools and Materials
Why buy expensive tools when you can use items you already have at home? For cleaning your rims, an old toothbrush or a kitchen scrubber works just as well as specialized brushes. Instead of buying masking tape, try using painter’s tape or even duct tape you might already have. Cardboard from old boxes can serve as shields to protect areas you don’t want to paint. If you need a sanding block, wrap sandpaper around a small piece of wood. These DIY alternatives save you money and make the process even more satisfying.
Reusing Supplies to Save Money
Reusing supplies is another great way to cut costs. Leftover paint, primer, or sealant from previous projects can be used for your rims. If you’ve painted other parts of your car before, check your garage for any remaining materials. Even tools like sandpaper or brushes can often be reused if they’re still in good condition. By making the most of what you already have, you’ll reduce waste and keep your project budget-friendly. Plus, it’s an eco-friendly approach that benefits both your wallet and the environment.
Maintaining Your Painted Winter Rims
Cleaning Painted Rims Without Damaging the Finish
Keeping your painted rims clean is essential to maintain their fresh look. But you need to be careful not to damage the finish. Start by identifying the type of finish on your rims, whether it’s black, chrome, or powder-coated. This helps you choose the right cleaner. For regular cleaning, mix gentle car soap or mild dish soap with water. Use a soft-bristle brush to scrub away dirt and grime.
If brake dust builds up, grab a specialized wheel cleaner and follow the instructions on the label. For tar or grease, apply a tar remover or solvent-based cleaner using a soft cloth. Stubborn stains? A mixture of baking soda and water or a vinegar solution works wonders. Always rinse thoroughly and dry with a microfiber cloth to avoid water spots. These simple steps keep your rims looking sharp without risking the paint job.
Touching Up Scratches and Chips
Scratches and chips can happen, but you can fix them without too much hassle. For minor scratches, a gloss black touch-up paint works well, though the repair might be noticeable up close. If your rims are a custom color, use the same paint for touch-ups. Just remember, it won’t look factory-fresh, but it’ll still improve the appearance.
For black wheels, scratches tend to stand out more than on silver ones. Regular touch-ups or repainting might be necessary to keep them looking their best. A little effort goes a long way in maintaining the sleek look of your painted rims.
Protecting the Paint During Winter
Winter conditions can be tough on your rims, but you can take steps to protect them. Regular cleaning is your first line of defense against corrosion. Apply a ceramic coating or wax to shield the paint from moisture and harsh chemicals like road salt. These coatings create a barrier that keeps your rims safe and makes cleaning easier.
By staying proactive, you’ll ensure your rims stay in top shape throughout the season. A little care now saves you from bigger problems later, keeping your painted winter rims looking great all winter long.
Painting your winter steel rims is a simple and budget-friendly way to refresh your car’s look while protecting the wheels from harsh conditions. By following these steps, you’ll create durable, professional-looking rims that stand out. Why not give it a try? You’ll save money, learn a new skill, and enjoy the satisfaction of a DIY project! 🚗✨
FAQ
1. How long does it take to paint winter rims?
It usually takes about 4-6 hours, including cleaning, sanding, priming, painting, and sealing. Drying time between coats is the most time-consuming part.
2. Can I paint my rims without removing the tires?
Yes, you can! Use masking tape or cardboard shields to protect the tires. This method saves time and avoids the hassle of tire removal.
3. What’s the best way to fix paint chips on rims?
Use touch-up paint that matches your rim color. Apply it carefully with a small brush. For deeper chips, consider sanding and repainting the affected area.
- Posted In:General


