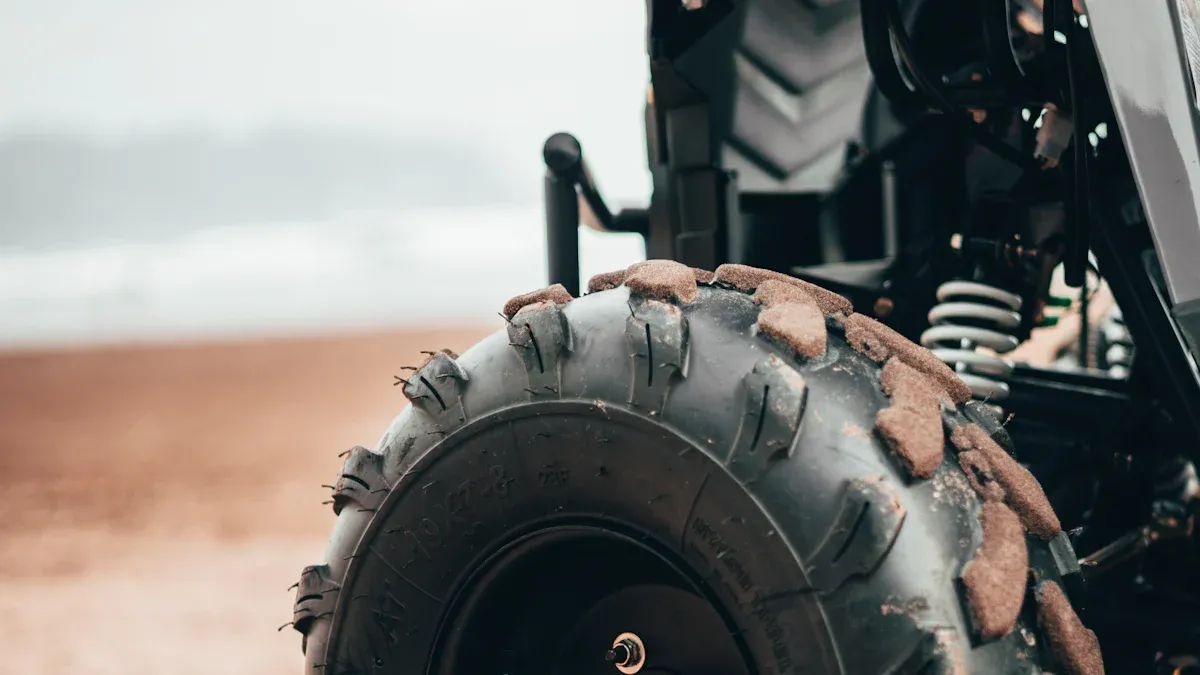
Anyone can try to put ATV tires on at home. You need to use the right steps. Beginners may feel worried at first. But using a DIY way and good tools helps a lot. He should watch out for common mistakes. These include not seating the bead right, using wrong tools, and not checking tire direction. Using broken tools or too much force can hurt tire beads. It can also bend ATV rims. BRS WHEEL sells ATV steel rims and Chrome ATV rims. These rims help make putting on tires safer and easier. Paying close attention to each step gives a safe and good result.
Key Takeaways
Use the right tools like tire irons and a valve stem tool. These tools help you safely put ATV tires on rims. Good tools stop damage to rims and tires.
Always check tire pressure before you ride. The right pressure keeps you safe and helps tires last longer. This is important for different types of ground.
Put soapy water or tire lubricant on the tire bead and rim. This step makes it easier to put the tire on. It also lowers the chance of damage.
Look at the bead seating after you finish mounting. Make sure there are no gaps. This stops air leaks and keeps the tire tight.
Clean and take care of your ATV rims and tires often. Doing this helps stop rust and makes your equipment last longer.
Tools Needed To Mount ATV Tires
Basic Tools For Tires
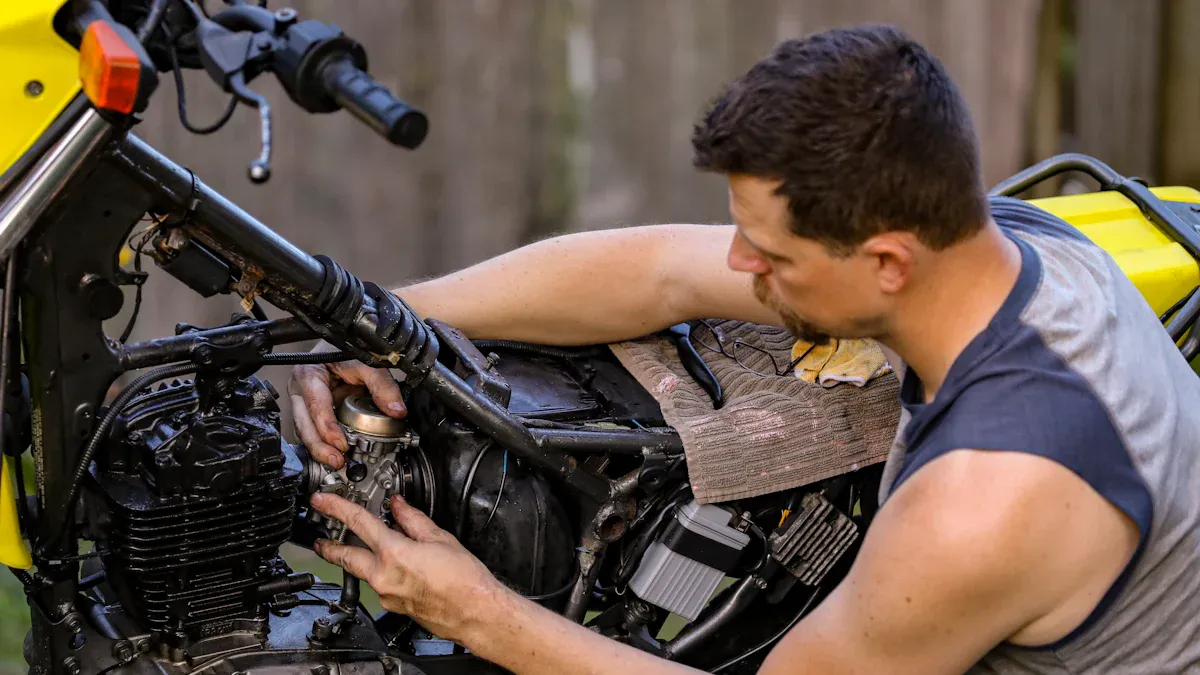
You need the right tools to put tires on ATV rims. Tire irons help you take off old tires. They also help break the bead from the rim. A valve stem tool is used to remove and put in the valve stem. An air compressor gives the new tires the right air pressure. You use a tire gauge to check the pressure after you put on the tire. Wheel chocks keep the ATV from moving while you work. A jack or lift helps you raise the ATV so you can reach the wheels. Some people use flat screwdrivers or pry bars instead. But tire irons are safer and work better.
Tip: Use rags or soft cloths to stop scratches on the rim finish.
The table below lists common rim and tire sizes for ATVs:
Specification | Description |
|---|---|
Wheel Diameter | Measured in inches; common sizes are 14″, 15″, and 16″. |
Wheel Width | Distance from one bead seat to the other; usually 7″ to 10″. |
Bolt Pattern | Must match the hub pattern; it is different for each ATV model. |
Offset | Distance between the wheel’s center and where it mounts. |
Backspacing | Distance from where the wheel mounts to the back edge. |
Safety Gear For Tire Mounting
Safety is very important when you put on tires. Gloves keep your hands safe from sharp parts. Safety glasses protect your eyes from flying dirt. Work boots help if you drop a tire or tool on your foot. Wheel chocks stop the ATV from rolling by accident. Always make sure the jack or lift is steady before you start.
Doing regular checks helps stop accidents. Check the tire pressure, tread, and fluids before every ride. Follow the maker’s schedule and look for loose lug nuts or worn tires.
BRS WHEEL atv rims are strong and last a long time. These rims are made with new methods and pass hard tests for safety. BRS WHEEL steel rims are tough and save money, so they are good for rough ground. Using the right tools and good rims makes mounting tires safe and easy.
Removing Tires And Preparing ATV Rims
Take Off The ATV Wheel
Removing the ATV wheel starts with loosening the lug nuts while the ATV sits on the ground. This step keeps the wheel steady. Next, a jack lifts the ATV until the tire is off the ground. The person then removes the lug nuts in a crisscross pattern. This method helps prevent the rim from bending. After all the nuts come off, the wheel can be taken off the hub.
Deflate And Break Tire Bead
To deflate the tire, remove the valve cap and press the valve stem to let out the air. A valve remover tool works best for taking out the valve core. This tool makes the tire lose air quickly. Once the tire is flat, use a bead breaker or tire irons to separate the tire bead from the rim. Move around the tire, working in small sections. Tire lubricant or soapy water helps loosen the bead and makes the job easier.
Tip: Always use soapy water or tire lubricant when breaking the bead. This reduces friction and protects the rim.
Clean And Inspect ATV Rims
Cleaning the rim is important before mounting a new tire. Use water and a degreaser to wash away dirt, grease, and debris. Pay special attention to the bead seat area. A clean surface helps the new tire seal properly. After cleaning, inspect the rim for any signs of damage or wear.
Sign of Damage/Wear | Description |
|---|---|
Uneven or Excessive Tread Wear | One side wears more, flat spots, or tread depth is too low. |
Frequent Loss of Tire Pressure | Slow leaks or damaged valve stems may cause this problem. |
Cracks or Punctures in Sidewall | Cracks, bulges, or punctures can lead to leaks and blowouts. |
BRS WHEEL recommends checking atv rims for cracks, bends, or rust. A rim in good condition helps the tire fit well and last longer. Clean and strong rims also make riding safer.
How To Mount ATV Tires On Rims
Lubricate Tire Bead And Rim
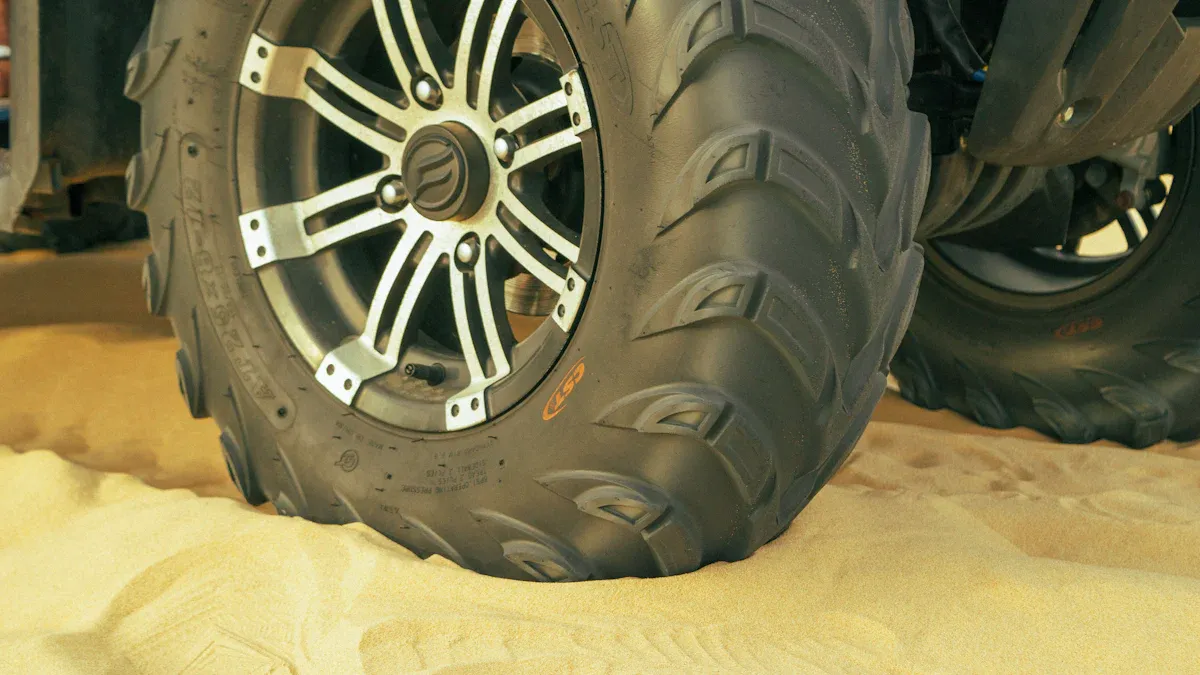
Lubrication makes mounting ATV tires much easier and safer. It helps the tire bead slide smoothly over the rim and reduces the risk of damage. People often use commercial tire lubricants like Ruglyde from Napa. Laundry detergent mixed with water also works well because it is slippery and easy to clean. Some riders use soapy water as a simple solution.
Apply a fresh coat of tire lubricant or soapy water to both the rim and the tire bead area.
Make sure the lubricant covers the entire bead surface.
Avoid using too much lubricant, as this can cause the tire to slip during inflation.
Tip: Place a rag or soft cloth between the tire iron and the rim to protect the finish, especially when working with powder-coated or chrome atv rims.
Seat Tire Beads On ATV Rims
Seating the tire bead is a key step when you mount ATV tires. This process ensures the tire fits tightly against the rim and holds air properly. Follow these steps for a smooth installation:
Position the tire so the bottom bead sits on the rim.
Push the tire down and use your hands to work the bead over the rim edge.
Use tire irons or spoons to gently pry the bead over the rim, moving in small sections.
Once the bottom bead is on, repeat the process for the top bead.
Make sure the tire is centered and the beads are even on both sides.
If the tire is directional, check the arrows on the sidewall and match them to the correct rotation.
For stubborn beads, use a ratchet strap around the tire to help compress it and make seating easier.
Note: Always push the tire into the drop center of the rim while working the bead. This step prevents damage and makes mounting easier.
BRS WHEEL offers beadlock rims that make mounting ATV tires at home even simpler. Beadlock rims clamp the tire bead in place, which helps prevent the tire from slipping off during low-pressure riding. These rims are stronger and more durable for off-road use. Riders can run lower tire pressures for better traction without worrying about the tire separating from the rim.
Inflate And Check Tires
After seating the beads, it is time to inflate the tire and check for leaks. Proper inflation helps the tire seat fully and ensures safe riding. Follow these steps:
Reinstall the valve stem core if it was removed.
Attach an air compressor and slowly inflate the tire.
Listen for popping sounds as the beads seat against the rim. These pops mean the tire is locking into place.
Stop inflating once the beads are fully seated and the tire reaches the recommended pressure.
Always check the ATV owner’s manual for the best tire pressure for your model.
Checking for leaks is the final step. Use these methods to make sure the tire is sealed:
Look closely at the bead area for gaps or dirt.
Spray a soap and water solution on the bead line. Bubbles will show if there is a leak.
Run your hand along the bead and listen for a faint hissing sound.
Submerge the tire in water and watch for air bubbles.
Inspect the valve stem and tread for any other leaks.
Tip: If you find a leak, deflate the tire, reapply lubricant, and try seating the bead again.
Mounting ATV tires at home can be simple with the right tools and steps. Using BRS WHEEL beadlock rims adds extra safety and makes the process easier, especially for those who enjoy off-road adventures. These rims allow riders to run lower tire pressures for better grip and reduce the chance of flats while changing ATV tires.
Final Checks After Mounting Tires
Inspect Tire Seating And Pressure
After mounting the tires, a careful inspection ensures safety and performance. First, check the bead seating by looking closely at the edge where the tire meets the rim. The bead should sit evenly all around. If there are any gaps or uneven spots, the tire may not be sealed. Use a soapy water solution and spray it along the bead and valve stem. Bubbles will show if air leaks out. If leaks appear, deflate the tire and try to reseat the bead.
Next, use a tire pressure gauge to check the air pressure. The pressure should match the manufacturer’s recommended PSI. Proper inflation helps the tires last longer and improves how the ATV handles. Riders should adjust the pressure based on the terrain. Lower pressure works better for sand or mud, while higher pressure helps on hard-packed trails. If the ATV feels bumpy or unstable, check the pressure again and make adjustments.
Tip: Always inspect the tire seating and pressure before every ride. This habit prevents accidents and keeps the ATV running smoothly.
Reinstall Wheel On ATV
Once the tires pass inspection, reinstall the wheel onto the ATV. Line up the wheel with the hub and hand-tighten the lug nuts. Use a crisscross or star pattern when tightening the nuts. This method spreads the pressure evenly and keeps the atv rims from warping. Tighten the nuts to the torque setting listed in the owner’s manual.
Before riding, double-check for leaks around the valve stem and bead. If everything looks good, lower the ATV from the jack. Take a short test ride at low speed. Listen for strange noises and feel for vibrations. If the ride feels smooth, the tires and rims are ready for regular use.
Note: Securely tightened lug nuts and properly seated tires help prevent accidents and extend the life of the ATV.
Tips For Maintaining ATV Rims And Tires
Routine Tire Maintenance
Taking care of your tires helps them last longer. It also keeps you safe. Always check the tire pressure before you ride. Use a tire pressure gauge to get the right number. Change the pressure if you ride on different ground. Clean your tires with gentle soap to get rid of dirt and brake dust. Brake dust sprays help keep wheels clean. You can put on brake dust shields to stop dust from building up. Ceramic brake pads make much less dust than regular ones. Putting on ceramic coatings or special finishes protects your tires and rims from bad weather.
Always check tire pressure before you ride.
Use a tire pressure gauge for the best results.
Wash tires and rims with gentle soap.
Spray on brake dust repellent to help keep them clean.
Put on brake dust shields to block dust.
Pick ceramic brake pads to make less dust.
Use ceramic coatings or special finishes to protect them.
Recycling old tires is good for the earth. Old tires can be used for playgrounds or roads. Throwing away tires the right way stops health problems. Old tires can fill with water and bring bugs.
Protecting ATV Rims From Damage
ATV rims can get damaged in many ways. Hitting potholes or curbs can bend or crack rims. Water can cause rust and make rims weak. Brake dust can build up over time. If you tighten lug nuts too much, the rim can bend. Low tire pressure makes damage more likely. Cleaning rims often and using coatings helps stop rust. Use a torque wrench to tighten lug nuts just right. Check tire pressure and alignment every month to keep rims and tires in good shape.
Damage Type | Primary Causes | Prevention Methods |
|---|---|---|
Pothole Damage | Hitting road holes | Drive carefully, keep tire pressure right, avoid holes |
Curb Rash | Parking mistakes | Use rim guards, park carefully |
Cracked Wheels | Hard hits | Keep tire pressure right, do not overload |
Bent Rims | Hitting potholes | Drive safely, keep tire pressure right |
Corrosion/Rust | Water on rims | Clean often, use coatings |
Brake Dust Buildup | Brakes wearing down | Clean often, use safe cleaners |
Overtightened Lug Nuts | Too much tightening | Use a torque wrench, follow the rules |
Low Tire Pressure | Air leaks or loss | Check pressure each month, follow maker’s rules |
Improper Alignment | Worn suspension | Check alignment often, balance the weight |
BRS WHEEL has powder-coated and chrome finishes for atv rims. Chrome rims do not rust easily, even in snow or salty places. Powder coating can last three to five years or more. Both finishes help protect rims from bad weather and rough roads. Riders who pick these finishes get strong rims that look good for a long time.
Putting ATV tires on rims is easy if you follow each step. Riders need to wear gloves and goggles for safety. Always check the tire direction before putting it on. Do not put in too much air. Check and clean your tires and rims often. This helps them last longer. Picking BRS WHEEL ATV rims makes your ride stronger and better. These rims do not rust easily and work well.
Go over every step again to make sure it is safe. If you are not sure, ask a pro for help.
Benefit | Description |
|---|---|
Enhanced Durability | Handles rough rides and lasts a long time. |
Improved Performance | Makes off-road riding easier to control. |
Corrosion Resistance | Special coatings stop rust and damage. |
Vibration Absorption | Gives a smoother ride and more comfort. |
FAQ
How can someone tell if an ATV tire is mounted correctly?
A person should check the bead seating all around the rim. The tire should sit evenly with no gaps. Air bubbles or hissing sounds may show a leak. Proper inflation also helps confirm a good fit.
What is the best way to protect ATV rims from rust?
Powder-coated or chrome finishes from BRS WHEEL help stop rust. Regular cleaning with mild soap removes dirt and moisture. Riders should dry rims after washing or riding in wet conditions.
Can a person use car tire tools for ATV tires?
Some car tire tools work, like tire irons or valve stem tools. However, tools made for ATV tires fit better and help prevent rim or bead damage. Specialized tools make the job easier and safer.
How often should someone check ATV tire pressure?
A rider should check tire pressure before every ride. Changes in temperature or terrain can affect pressure. Keeping the right pressure helps tires last longer and improves safety.
