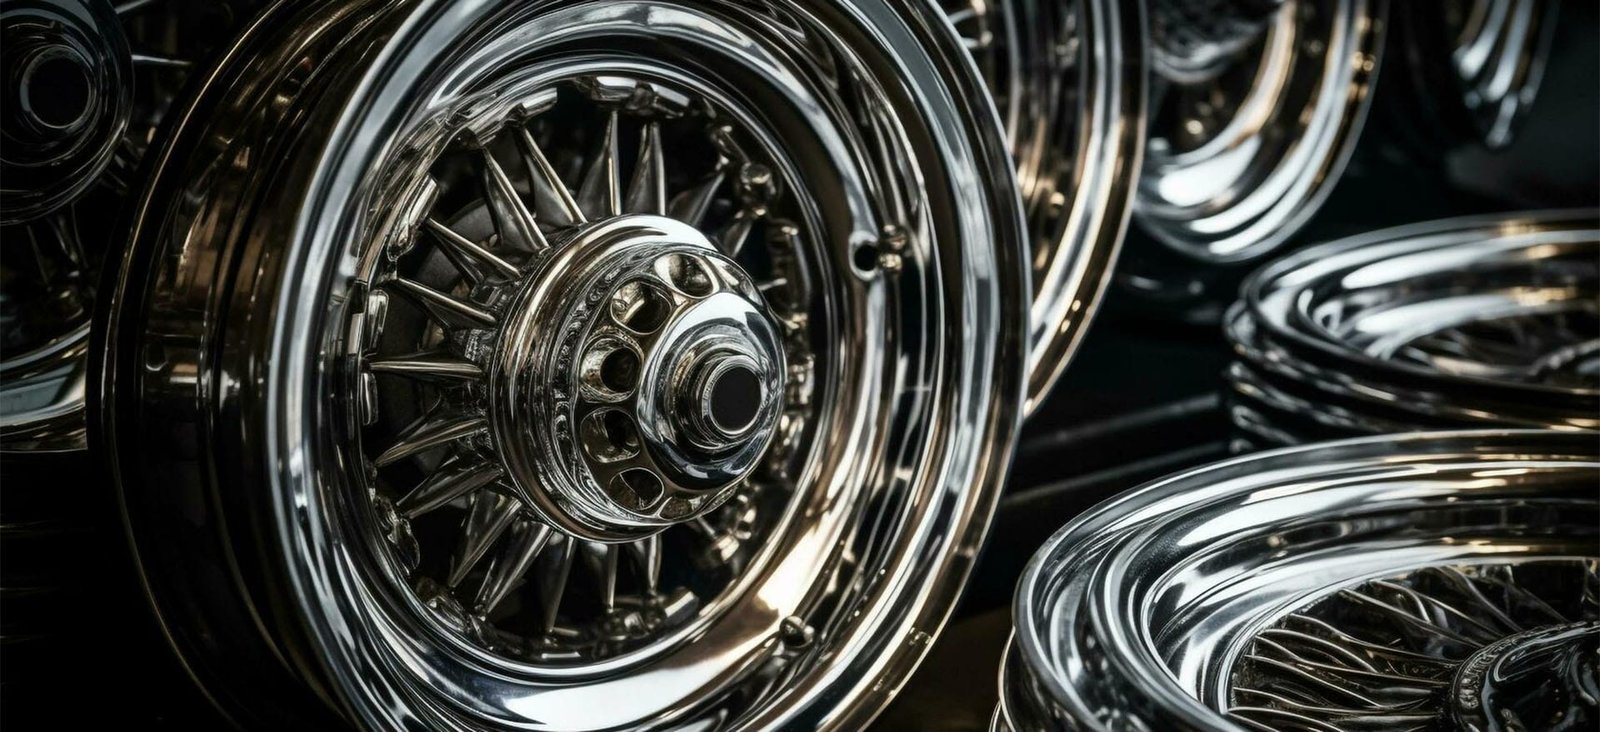
Transforming your wheels into sleek black chrome wheels can elevate your vehicle’s style. This trend, which gained popularity about a decade ago, was once reserved for luxury and sports cars. Now, it’s accessible to anyone looking to add a touch of sophistication to their ride. You’ll need specific materials and steps to achieve that professional finish. With the right approach, you can make your wheels stand out, reflecting a modern and bold aesthetic. So, gear up and get ready to give your wheels a stunning makeover.
Key Takeaways
- Gather essential materials like black chrome spray paint, primer, and clear coat to ensure a smooth painting process.
- Thoroughly clean and sand your wheels before painting to promote better adhesion and a flawless finish.
- Apply primer and paint in multiple thin coats, allowing adequate drying time between each layer for optimal results.
- Use a well-ventilated area with ideal temperature and humidity to enhance paint application and drying.
- Finish with a clear coat to protect your paint job and add a glossy, professional look to your wheels.
- Be patient and precise throughout the process; attention to detail is key to achieving stunning black chrome wheels.
- Practice on a test surface before starting on your wheels to perfect your technique and ensure even application.
Materials Needed for Black Chrome Wheels

Before you dive into painting your wheels, gather the right materials. Having everything ready will make the process smoother and more enjoyable.
Essential Tools and Supplies
To achieve that stunning black chrome finish, you’ll need some key items:
Black chrome spray paint: This is the star of the show. It’s specially formulated to give your wheels that sleek, reflective look. Brands like Rust-Oleum® Custom Automotive Paint offer a premium lacquer that provides a chrome finish with extra shine and luster.
Primer: A good primer is crucial. It helps the paint adhere better to the metal surface of your wheels. Consider using a product like Dupli-Color® Prep-Spray, which removes oil, wax, and grease, ensuring a clean surface for the primer to stick to.
Clear coat: After painting, a clear coat protects the finish and adds durability. It also enhances the gloss, making your black chrome wheels look even more impressive.
Sandpaper (various grits): Sandpaper is essential for prepping the wheels. You’ll need different grits to smooth out imperfections and ensure the primer and paint adhere properly.
Safety gear (gloves, mask, goggles): Safety first! Protect yourself from fumes and particles by wearing gloves, a mask, and goggles.
Optional Tools for Enhanced Results
While not mandatory, these tools can help you achieve a more professional finish:
Wheel stand or jack: Elevating your wheels makes it easier to paint them evenly. A wheel stand or jack can provide the stability you need.
Painter’s tape: Use this to mask off areas you don’t want to paint. It ensures clean lines and prevents overspray.
Drop cloths or plastic sheeting: Protect your workspace from paint splatters. Lay down drop cloths or plastic sheeting to catch any drips.
With these materials in hand, you’re well on your way to transforming your wheels into eye-catching black chrome wheels. Remember, preparation is key to achieving a professional look.
Preparation for Painting Black Chrome Wheels
Before you start painting, proper preparation is crucial to ensure your black chrome wheels look their best. This section will guide you through the essential steps to get your wheels ready for a stunning transformation.
Cleaning the Wheels
A clean surface is the foundation of a successful paint job. Dirt, grease, and old paint can prevent the new paint from adhering properly, so it’s important to remove them thoroughly.
Removing dirt, grease, and old paint
- Start with a thorough wash: Use mild soap and water to clean the wheels. This will remove surface dirt and grime.
- Scrub away stubborn spots: For areas with caked-on dirt or old paint, use a brush or sponge to scrub them off.
- Rinse and dry: After washing, rinse the wheels with clean water and dry them completely with a towel.
Using a degreaser or wheel cleaner
- Apply a degreaser: Choose a high-quality degreaser or wheel cleaner. Spray it generously on the wheels to break down any remaining grease or oil.
- Let it sit: Allow the cleaner to sit for a few minutes to penetrate and loosen the grime.
- Wipe clean: Use a clean cloth to wipe away the cleaner, ensuring no residue is left behind.
Sanding for Adhesion
Sanding is a critical step that helps the primer and paint adhere better to the wheel surface. It smooths out imperfections and creates a texture for the paint to grip onto.
Choosing the right grit sandpaper
- Select the appropriate grit: Start with a coarser grit, like 400, to remove any rough spots or old paint. Then, move to a finer grit, such as 600, for a smoother finish.
- Consider the wheel material: If your wheels are chrome-plated, you might need to strip the chrome first. Use a scuff pad to roughen the surface if complete removal isn’t possible.
Techniques for even sanding
- Sand in circular motions: This technique helps avoid creating grooves or scratches on the wheel surface.
- Apply even pressure: Keep the pressure consistent to ensure an even sanding job across the entire wheel.
- Check your progress: Periodically wipe the wheel with a damp cloth to see your progress and ensure even sanding.
By following these preparation steps, you’ll set the stage for a flawless black chrome finish. Remember, taking the time to clean and sand your wheels properly will pay off in the final result.
Priming the Wheels
Priming your wheels is a crucial step in achieving that sleek black chrome finish. It sets the foundation for the paint to adhere properly and ensures a long-lasting result. Let’s dive into how you can apply primer effectively and inspect it for any imperfections.
Applying Primer Evenly
To get the best results, you need to apply the primer evenly across the wheel surface. Here’s how you can do it:
Techniques for even coverage
Shake the primer can well: Before you start, give the primer can a good shake. This ensures that the contents are mixed properly, which is essential for even coverage.
Hold the can at the right distance: Keep the spray can about 8-12 inches away from the wheel. This distance helps you achieve a smooth and even coat without drips or runs.
Use sweeping motions: Move the can in a steady, sweeping motion across the wheel. Overlap each pass slightly to ensure full coverage.
Apply multiple thin coats: Instead of one thick coat, apply several thin layers. This technique helps prevent runs and gives a more professional finish.
Importance of drying time
Allowing the primer to dry properly between coats is vital. Each layer needs time to set before you apply the next one. Typically, you should wait about 10-15 minutes between coats, but always check the manufacturer’s instructions for specific drying times. Rushing this step can lead to uneven surfaces and affect the final look of your black chrome wheels.
Inspecting the Primer Coat
Once you’ve applied the primer, it’s time to inspect your work. This step ensures that the surface is ready for the black chrome paint.
Checking for imperfections
Look for bubbles or drips: Examine the primer coat closely. Look for any bubbles, drips, or uneven areas that might affect the paint’s adhesion.
Feel the surface: Run your hand gently over the wheel. The surface should feel smooth and even. Any rough spots might need attention.
Sanding and reapplying if necessary
If you find any imperfections, don’t worry. You can fix them with a bit of sanding:
Use fine-grit sandpaper: Choose a fine-grit sandpaper, like 600, to gently sand down any rough areas. This will smooth out the surface without removing too much primer.
Clean the area: After sanding, wipe the wheel with a clean cloth to remove any dust or debris.
Reapply primer if needed: If you’ve sanded down to the metal, apply another thin coat of primer to cover the area. Allow it to dry completely before moving on to the next step.
By taking the time to prime your wheels properly, you’ll set the stage for a stunning black chrome finish. Remember, patience and attention to detail are key to achieving professional results.
Applying Black Chrome Paint

Now that your wheels are primed and ready, it’s time to apply the black chrome paint. This step is where the magic happens, transforming your wheels into sleek, eye-catching black chrome wheels. Let’s dive into the techniques and tips to ensure a smooth and professional finish.
Techniques for a Smooth Finish
Achieving a smooth finish with black chrome paint requires precision and patience. Here’s how you can do it:
Applying thin, even coats
Start with a light touch: Hold the spray can about 8-12 inches from the wheel. This distance helps you apply a thin, even coat without causing drips or runs.
Use steady, sweeping motions: Move the can in a side-to-side motion, overlapping each pass slightly. This technique ensures full coverage and prevents uneven spots.
Build up gradually: Apply multiple thin coats instead of one thick layer. This approach helps the paint adhere better and reduces the risk of imperfections.
Maintaining consistent spray distance
Keep a steady hand: Maintain the same distance from the wheel throughout the painting process. Consistency is key to achieving an even finish.
Avoid rushing: Take your time with each coat. Rushing can lead to uneven application and a less professional look.
Drying Times and Layering
Proper drying times and layering are crucial for a durable and glossy finish. Here’s what you need to know:
Allowing adequate drying time between coats
Patience is essential: Allow each coat to dry completely before applying the next one. Typically, you should wait about 10-15 minutes between coats, but always check the paint manufacturer’s instructions for specific drying times.
Check for tackiness: Before applying another coat, lightly touch a hidden area of the wheel. If it feels tacky, give it more time to dry.
Building up layers for depth
Layer for richness: Apply several coats to build up the color and depth. This layering technique enhances the reflective quality of the black chrome paint.
Inspect between layers: After each coat, inspect the wheel for any imperfections. Address any issues before moving on to the next layer.
By following these steps, you’ll achieve a stunning black chrome finish that not only looks great but also lasts. Remember, the key to success lies in your attention to detail and patience throughout the process.
Finishing with a Clear Coat
You’re almost at the finish line! Applying a clear coat is the final step to protect your newly painted black chrome wheels and give them that glossy, professional look. Let’s dive into how you can do this effectively.
Protecting the Paint
A clear coat acts as a shield for your paint job, enhancing durability and shine. Here’s how to apply it:
Applying a clear coat for durability
Shake the can well: Before you start, shake the clear coat can vigorously for about 20 seconds. This ensures the contents are mixed properly, which is crucial for even application.
Maintain the right distance: Hold the spray can about 3–5 inches away from the wheel. This distance helps you apply a light, even layer without causing drips.
Use sweeping motions: Start spraying from one side and move across to the other side in a steady motion. Overlap each pass slightly to ensure full coverage.
Apply multiple coats: For the best protection, apply three light coats followed by one medium wet coat. Allow about 10 minutes between each coat to let it dry properly.
Techniques for a glossy finish
Consistency is key: Keep your hand steady and maintain the same distance from the wheel throughout the process. This consistency helps achieve a smooth, glossy finish.
Inspect the shine: After applying the coats, check the wheels under good lighting to ensure the gloss is even and there are no dull spots.
Final Inspection and Touch-ups
Once the clear coat is applied, it’s time for a final inspection to ensure everything looks perfect.
Checking for any missed spots
Examine the wheels closely: Look for any areas where the clear coat might be thin or missing. Pay special attention to edges and corners.
Feel the surface: Run your hand gently over the wheel to detect any rough spots or inconsistencies in the finish.
Correcting minor flaws
Address any issues: If you find any missed spots or imperfections, lightly sand the area with fine-grit sandpaper. This will smooth out the surface without damaging the paint.
Reapply clear coat if needed: After sanding, clean the area with a cloth and apply a light coat of clear coat to cover the spot. Allow it to dry completely.
By following these steps, you’ll ensure your black chrome wheels not only look stunning but also stay protected for the long haul. Remember, the key to a professional finish lies in your attention to detail and patience throughout the process.
Tips for Best Results with Black Chrome Wheels
Achieving a flawless finish on your black chrome wheels requires more than just the right materials and techniques. The environment you work in and the approach you take can significantly impact the final result. Here are some tips to help you get the best outcome.
Working Environment
Creating the right environment is crucial for a successful painting process. Here’s what you need to consider:
Importance of a well-ventilated area
You should always work in a well-ventilated area when painting. Proper ventilation helps disperse fumes from the paint and primer, keeping the air clean and safe to breathe. It also aids in the drying process, ensuring that each coat sets properly. Professionals often emphasize the importance of ventilation, noting that it can prevent headaches and dizziness caused by inhaling paint fumes.
Ideal temperature and humidity conditions
Temperature and humidity play a big role in how paint dries and adheres. Aim for a temperature range between 60°F and 80°F. This range allows the paint to dry evenly without cracking or bubbling. Humidity should be low, ideally below 50%, to prevent moisture from affecting the paint’s finish. If conditions aren’t ideal, consider using a dehumidifier or fan to create a more suitable environment.
Additional Tips
Beyond the environment, your technique and preparation can make a big difference. Here are some additional tips to consider:
Practicing on a test surface
Before you start on your wheels, practice on a test surface. This could be an old piece of metal or a spare wheel. Practicing helps you get a feel for the spray can and perfect your technique. You’ll learn how to control the spray and apply even coats, which is essential for a professional finish.
Patience and precision for a professional look
Patience is key when painting black chrome wheels. Rushing through the process can lead to mistakes and imperfections. Take your time with each step, from cleaning and sanding to priming and painting. Precision in your application will ensure that the paint adheres smoothly and evenly. Remember, a professional look comes from careful attention to detail and a steady hand.
By following these tips, you’ll be well on your way to achieving stunning black chrome wheels. Whether you’re a seasoned DIYer or a beginner, these insights will help you create a finish that looks like it was done by a pro.
You’ve now got the blueprint to transform your wheels into stunning black chrome wheels. By following these steps, you ensure a professional finish that stands out. Remember, preparation is key. Clean and sand your wheels thoroughly. Apply primer, paint, and clear coat with precision. Patience and attention to detail are your best allies. Just like an expert installer uses a blade with care, your steady hand will make all the difference. Take your time, and enjoy the process. Your vehicle will thank you with a sleek, modern look that turns heads.
FAQ
What are the common mistakes people make when painting wheels?
When painting wheels, folks often make a few common mistakes. First, they might skip the cleaning step, leaving dirt and grease that prevent paint from sticking. Second, they might not sand the wheels properly, which affects paint adhesion. Third, applying too thick a coat of paint can lead to drips and an uneven finish. Lastly, rushing through drying times can cause imperfections. To avoid these pitfalls, take your time with each step and follow the guide closely.
Can I paint my wheels without removing them from the car?
Yes, you can paint your wheels without removing them, but it’s not ideal. Leaving them on makes it harder to reach all areas evenly. If you choose this route, use painter’s tape to mask off areas you don’t want to paint. A wheel stand or jack can help elevate the wheels for better access. However, removing the wheels ensures a more thorough and professional job.
How long does the entire painting process take?
The painting process can take a couple of days. Cleaning and sanding might take a few hours. Priming and painting require several coats, with drying time in between each. Allow at least 10-15 minutes between coats and a few hours for the final coat to cure. Patience is key to achieving a durable and glossy finish.
Do I need special paint for black chrome wheels?
Yes, you need black chrome spray paint specifically designed for wheels. This paint provides the reflective, sleek look associated with black chrome. Brands like Rust-Oleum® offer options that deliver a high-quality finish. Using the right paint ensures durability and the desired aesthetic.
How can I ensure the paint lasts longer?
To make your paint job last, start with thorough preparation. Clean and sand the wheels properly. Apply primer, paint, and clear coat in thin, even layers. Allow each coat to dry completely before adding the next. After painting, avoid harsh chemicals and abrasive cleaners on your wheels. Regularly wash them with mild soap and water to maintain the finish.
Is it necessary to apply a clear coat?
Applying a clear coat is highly recommended. It protects the paint from scratches and chips, enhancing durability. The clear coat also adds a glossy finish, making your black chrome wheels look more professional. Skipping this step might result in a less durable and less shiny finish.
Can I fix mistakes after painting?
Yes, you can fix minor mistakes after painting. If you notice drips or uneven spots, lightly sand the area with fine-grit sandpaper. Clean the surface and reapply paint or clear coat as needed. For significant issues, you might need to strip the paint and start over. Taking your time during the initial process helps minimize the need for corrections.
What safety precautions should I take?
Safety is crucial when painting wheels. Always work in a well-ventilated area to avoid inhaling fumes. Wear safety gear like gloves, a mask, and goggles to protect yourself from chemicals and particles. Ensure your workspace is free from flammable materials, and follow all safety instructions on the paint cans.
Can I use regular car paint for my wheels?
Regular car paint isn’t suitable for wheels. Wheels endure more wear and tear, so they need paint specifically formulated for their conditions. Wheel paint offers better adhesion and durability, standing up to road debris and brake dust. Using the right paint ensures a longer-lasting and more resilient finish.
How do I maintain my newly painted black chrome wheels?
To maintain your black chrome wheels, clean them regularly with mild soap and water. Avoid harsh chemicals and abrasive tools that can damage the finish. Consider applying a wheel wax or sealant for added protection. Regular maintenance keeps your wheels looking fresh and extends the life of the paint job.