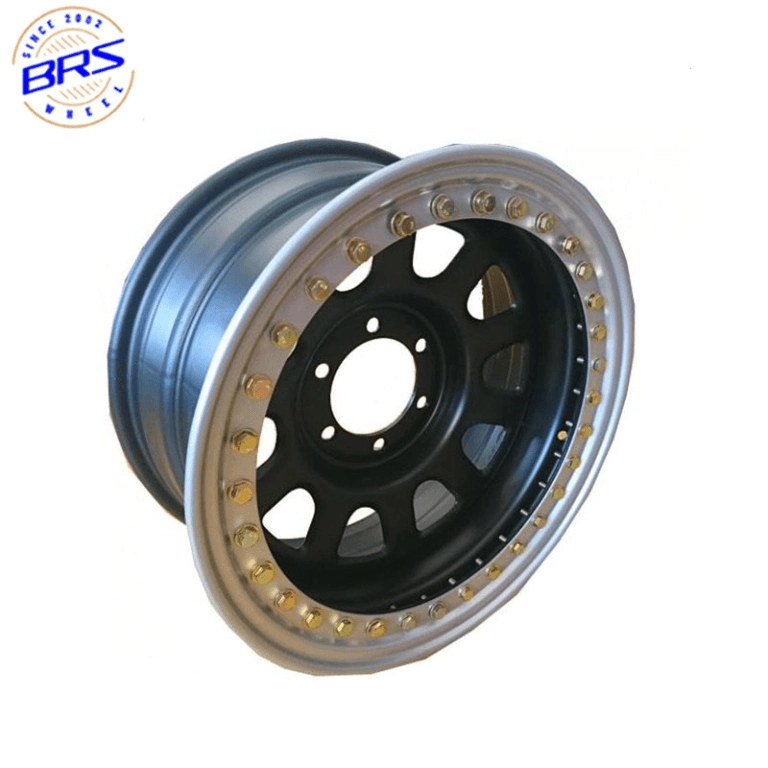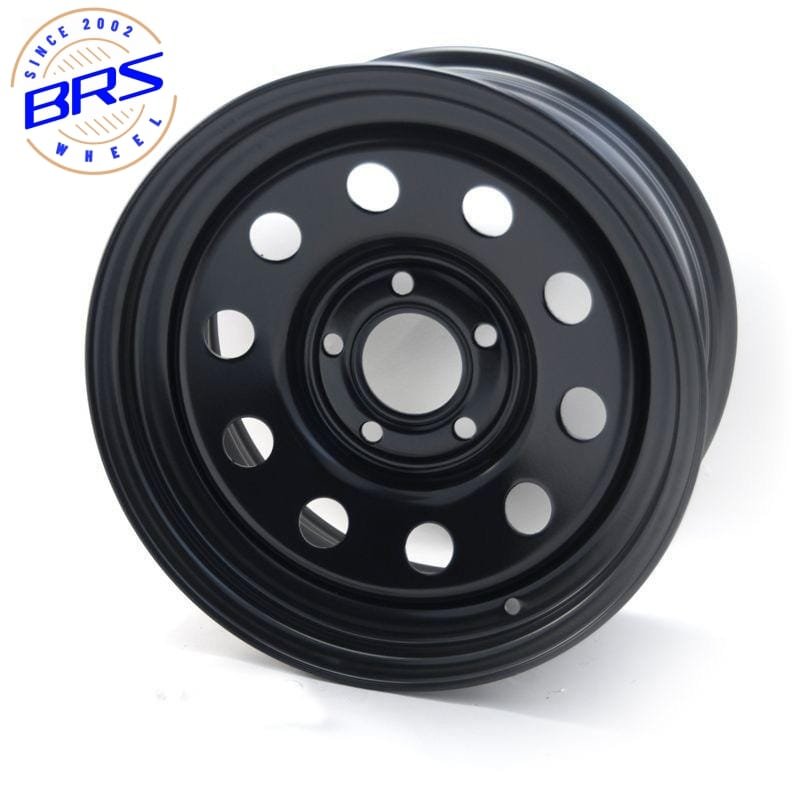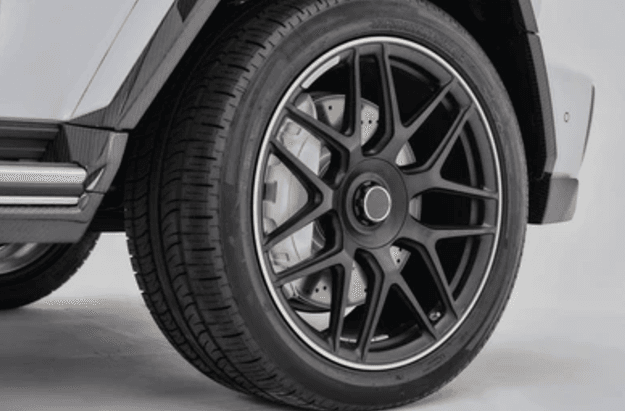
Painting your car rims can transform the look of your vehicle, giving it a unique and eye-catching appearance. A fresh coat of paint not only enhances aesthetics but also provides a protective layer against scratches, dirt, and other damaging elements. This simple upgrade can even boost your car’s resale value by maintaining the wheels in pristine condition. With the right techniques and materials for painting rim, you can achieve a professional finish that rivals any shop’s work. So, why not give your rims the makeover they deserve?
Wichtigste Erkenntnisse
- Proper preparation is essential: Remove the wheels, clean the rims thoroughly, and sand them to create a smooth surface for painting.
- Use high-quality materials: Choose rim-specific cleaners, automotive primers, and paints designed for durability and heat resistance to ensure a professional finish.
- Masking is crucial: Protect areas you don’t want to paint with automotive masking tape and newspaper to avoid overspray and achieve clean lines.
- Apply multiple thin coats: For the best results, use at least three coats of paint, allowing each to dry completely before applying the next for even coverage.
- Finish with a clear coat: This protective layer enhances the appearance of your rims and shields the paint from environmental damage.
- Regular maintenance is key: Clean your painted rims with gentle solutions and inspect for chips or scratches to keep them looking fresh and vibrant.
- Patience pays off: Allow adequate drying and curing times between steps to ensure a flawless, long-lasting finish.
Vorbereitung
Before you start painting your car rims, proper preparation is key to achieving a professional finish. This section will guide you through the essential steps to get your rims ready for a fresh coat of paint.
Removing the Wheels
To begin, you’ll need to remove the wheels from your vehicle. This step ensures you have full access to the rims and can work comfortably.
Tools needed for wheel removal
Gather the necessary tools before you start. You’ll need:
- A lug wrench to loosen and remove the lug nuts.
- A jack to lift the car safely.
- Jack stands to support the vehicle while you work.
Having these tools on hand will make the process smoother and safer.
Safety precautions to take
Safety should always come first. Follow these precautions:
- Ensure the car is on a flat, stable surface before lifting it.
- Use the jack stands to support the vehicle securely.
- Wear gloves to protect your hands from sharp edges or debris.
By taking these precautions, you can prevent accidents and injuries.
Cleaning the Rims
Once the wheels are off, it’s time to clean the rims thoroughly. A clean surface is crucial for the paint to adhere properly.
Cleaning products to use
Opt for a rim-specific cleaner to ensure a thorough cleaning. These products are designed to remove dirt and grime without damaging the rim’s surface. Avoid harsh chemicals that could harm the finish.
Steps for thorough cleaning
Follow these steps for effective cleaning:
- Spray the rim-specific cleaner generously over the entire rim.
- Use a soft brush to scrub away dirt and brake dust.
- Rinse the rims with water to remove any residue.
- Dry the rims completely with a clean cloth.
A clean rim provides a solid foundation for the painting process.
Sanding the Rims
Sanding the rims is an essential step to create a smooth surface for painting.
Types of sandpaper required
You’ll need different grits of sandpaper:
- Start with 320-grit sandpaper to remove any existing paint or imperfections.
- Use 600-grit sandpaper for a finer finish.
These sandpapers will help you achieve a smooth surface ready for painting.
Techniques for effective sanding
For effective sanding, follow these techniques:
- Sand in a circular motion to ensure even coverage.
- Apply consistent pressure to avoid uneven surfaces.
- Wipe the rims with a damp cloth to remove dust after sanding.
Proper sanding ensures the paint adheres well and results in a professional finish.
Masking and Priming

Before you dive into painting your rims, you need to mask and prime them properly. This step ensures that the paint adheres well and that you achieve a clean, professional finish.
Masking the Tires and Valve Stems
Masking is crucial to protect areas you don’t want to paint. It prevents overspray and keeps your work neat.
Materials needed for masking
You’ll need a few materials to get started:
- Automotive masking tape: This tape is designed to stick well without leaving residue.
- Newspaper or plastic sheets: Use these to cover larger areas like the tire.
- Scissors: Handy for cutting tape and paper to size.
These materials will help you cover and protect the necessary parts effectively.
Tips for precise masking
To ensure precision in masking, follow these tips:
- Start with the valve stem: Wrap it carefully with masking tape to avoid paint coverage.
- Cover the tire: Use newspaper or plastic sheets to shield the tire. Secure it with tape along the rim’s edge.
- Check for gaps: Make sure there are no gaps where paint could seep through.
Taking your time with masking will save you from unwanted paint marks later.
Applying Primer
Priming your rims is an essential step in the painting process. It helps the paint adhere better and enhances durability.
Choosing the right primer
Select an automotive primer specifically formulated for rims. This type of primer is designed to bond well with metal surfaces and withstand the elements.
Steps for even primer application
Follow these steps for a smooth primer application:
- Shake the primer can: Ensure the primer is well-mixed before use.
- Apply in thin coats: Hold the can about 8-12 inches from the rim and spray in a sweeping motion.
- Allow drying time: Follow the manufacturer’s instructions for drying times between coats.
Applying primer correctly sets the stage for a flawless painting rim experience.
Painting Rim

Now that your rims are prepped and primed, it’s time to dive into the exciting part—painting rim. This section will guide you through selecting the right paint and applying it for a stunning finish.
Selecting the Paint
Choosing the right paint is crucial for achieving a professional look. You want something that not only looks great but also lasts.
Types of paint suitable for rims
When it comes to painting rim, you have several options:
- Automotive Spray Paint: This paint is specifically designed for car parts and provides a smooth, even finish. It’s available in various colors, including OEM (original equipment manufacturer) color matches, which offer a factory-like appearance.
- High-Heat Paint: If your rims get hot due to high-performance driving or heavy braking, consider high-heat paint. It’s designed to withstand elevated temperatures without chipping or peeling.
- Pulverbeschichtung: While this option requires professional application, it offers superior protection against chipping, fading, and corrosion. Pulverbeschichtung is highly durable and long-lasting.
Each type of paint has its benefits, so choose one that best suits your needs and driving conditions.
Color options and finishes
The color and finish you choose can dramatically change the look of your vehicle. Here are some popular options:
- Glossy Finish: Offers a shiny, reflective surface that stands out.
- Matte Finish: Provides a sleek, understated look.
- Metallic Finish: Adds a touch of sparkle and depth to your rims.
Consider your car’s color and style when selecting a paint color and finish. Whether you want to match your car’s existing color or go for a bold contrast, there’s a wide range of options to explore.
Applying the Paint
With your paint selected, it’s time to apply it to your rims. Proper application ensures even coverage and a professional finish.
Techniken für eine gleichmäßige Abdeckung
To achieve an even coat, follow these techniques:
- Die Dose gut schütteln: Ensure the paint is thoroughly mixed.
- Hold the can 8-12 inches away: This distance helps prevent drips and runs.
- Use a sweeping motion: Move the can back and forth across the rim, overlapping each pass slightly.
- Apply thin coats: Thin layers dry faster and reduce the risk of runs.
Taking your time with each coat will result in a smoother finish.
Number of coats recommended
For the best results, apply multiple coats:
- First Coat: Acts as a base layer. It might not cover completely, but that’s okay.
- Second Coat: Provides fuller coverage and enhances color depth.
- Third Coat: Ensures a uniform finish and adds durability.
Allow each coat to dry according to the manufacturer’s instructions before applying the next. Patience here pays off with a professional-looking result.
Finishing
You’re almost at the finish line! The final steps in painting your car rims involve applying a clear coat and ensuring everything cures properly. These steps will give your rims that professional, polished look and ensure the paint job lasts.
Applying a Clear Coat
A clear coat is like the cherry on top of your painting rim project. It not only enhances the appearance but also provides essential protection.
Benefits of a clear coat
The clear coat acts as a shield for your freshly painted rims. It protects against environmental factors like road debris, UV rays, and weather conditions. This layer helps prevent the paint from chipping, fading, or peeling. Plus, it gives your rims a glossy, polished finish that makes them stand out.
Steps for application
Applying a clear coat is straightforward if you follow these steps:
Choose the right clear coat: Opt for a high-quality automotive clear coat compatible with the paint type and finish of your rims, whether matte, satin, or gloss.
Prepare the spray can: Shake the clear coat can thoroughly to ensure it’s well-mixed.
Apply in thin, even layers: Hold the can about 8-10 inches away from the rims. Use smooth, overlapping strokes to cover the entire surface. Avoid concentrating too much in one area to prevent drips or runs.
Allow drying time: Let each coat dry for about 15-20 minutes before applying the next. Aim for 2-3 coats for maximum protection.
By taking your time with this step, you’ll ensure a durable and attractive finish.
Curing and Final Touches
Once you’ve applied the clear coat, it’s crucial to let everything cure properly. This ensures the paint and clear coat bond well and last longer.
Curing time and conditions
Curing is all about patience. Allow your rims to cure in a dry, dust-free environment. The curing time can vary based on the paint and clear coat used, but generally, you should let them sit for at least 24 hours. Avoid exposing the rims to harsh conditions during this period.
Inspecting for imperfections
After curing, inspect your rims closely. Look for any imperfections like drips, runs, or uneven areas. If you spot any, you might need to do some light sanding and touch-up work. This attention to detail will ensure your rims look flawless.
With these finishing touches, your painting rim project will be complete. Your car rims will not only look fantastic but also have the protection they need to stay that way for a long time.
To keep your painted rims looking fresh and vibrant, regular maintenance is key. Avoid using harsh or abrasive cleaners, as they can scratch the surface and strip away protective coatings. Instead, opt for gentle cleaning solutions and soft cloths. Regularly inspect your rims for any chips or scratches and touch them up promptly to prevent further damage. By following each step of the painting rim process carefully, you ensure a long-lasting, professional finish that enhances your vehicle’s appearance. Remember, patience and attention to detail make all the difference in achieving the best results.
FAQ
How long does the paint job on car rims last?
The longevity of a paint job on car rims depends on several factors, including the quality of preparation, the type of paint used, and how well you maintain them. If you follow the steps in our guide and use high-quality materials, your rims can look great for years. Regular cleaning and avoiding harsh chemicals will help maintain the finish.
Can I paint my rims without removing the tires?
While it’s possible to paint rims without removing the tires, it’s not recommended. Removing the tires allows you to access the entire rim surface, ensuring even coverage and preventing overspray on the tires. Proper masking can help, but for the best results, take the time to remove the tires.
What type of paint should I use for car rims?
For painting car rims, automotive spray paint is a popular choice due to its durability and ease of application. High-heat paint is suitable if your rims experience high temperatures. Powder coating offers superior protection but requires professional application. Choose a paint that matches your needs and driving conditions.
How many coats of paint should I apply?
Applying multiple coats ensures a durable and even finish. Typically, you should apply at least three coats: a base coat, a second coat for fuller coverage, and a third coat for uniformity and durability. Allow each coat to dry according to the manufacturer’s instructions before applying the next.
Do I need to sand my rims before painting?
Yes, sanding is crucial for creating a smooth surface for the paint to adhere to. Start with 320-grit sandpaper to remove old paint and imperfections, then use 600-grit for a finer finish. Proper sanding helps achieve a professional look and ensures the paint lasts longer.
Is a clear coat necessary after painting rims?
Applying a clear coat is highly recommended. It acts as a protective layer, shielding the paint from environmental factors like UV rays and road debris. A clear coat also enhances the appearance, giving your rims a glossy, polished finish that stands out.
How do I maintain my painted rims?
To keep your painted rims looking fresh, clean them regularly with gentle solutions and soft cloths. Avoid abrasive cleaners that can scratch the surface. Inspect your rims for chips or scratches and touch them up promptly to prevent further damage. Regular maintenance ensures longevity and keeps your rims looking their best.
Can I change the color of my rims?
Absolutely! Changing the color of your rims can dramatically alter the look of your vehicle. Consider your car’s color and style when selecting a new color and finish. Whether you want a glossy, matte, or metallic finish, there’s a wide range of options to explore.
What should I do if I notice imperfections after painting?
If you spot imperfections like drips or uneven areas after painting, don’t worry. Lightly sand the affected areas and apply touch-up paint as needed. Inspecting your rims closely after curing helps ensure a flawless finish.
How important is it to follow the drying times between coats?
Following the drying times between coats is crucial for achieving a smooth, professional finish. Rushing the process can lead to runs, drips, and uneven coverage. Patience pays off, so allow each coat to dry thoroughly before applying the next.


