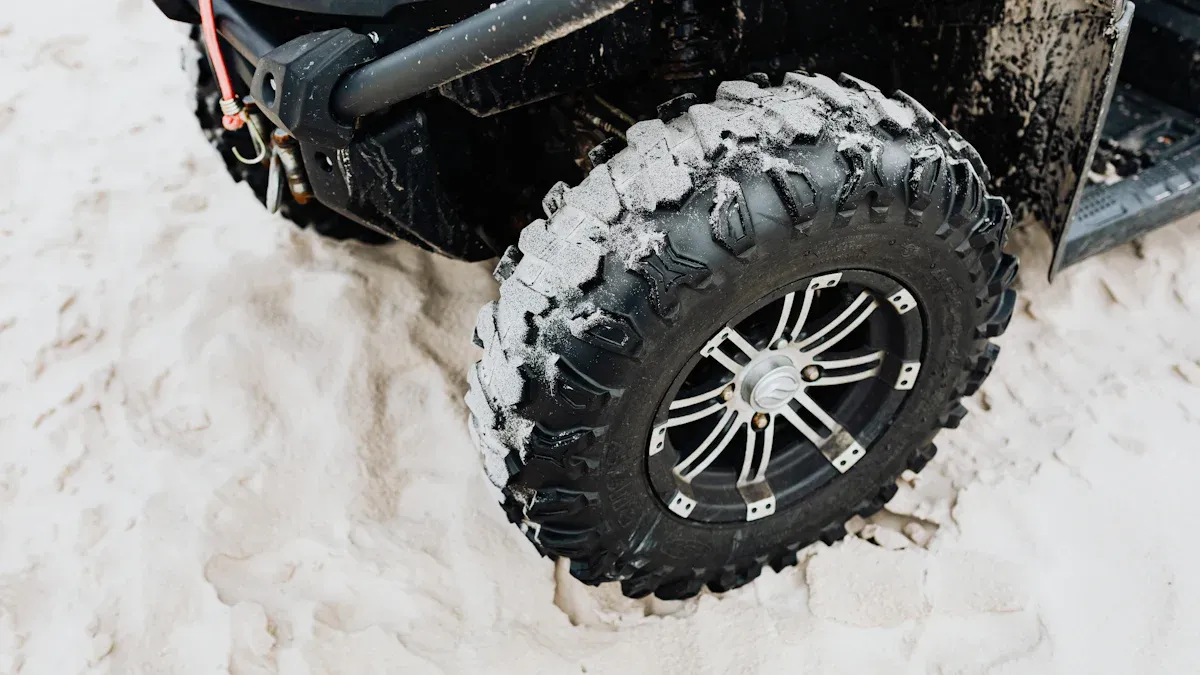
Sie können ATV-Reifen anbringen ATV-Felgen zu Hause. Sie brauchen das richtige Werkzeug und müssen vorsichtig sein. Viele ATV-Besitzer haben dies selbst getan. Manchmal haben sie Probleme, aber sie bringen die Arbeit trotzdem zu Ende.
Ein Fahrer brauchte allein etwa zwei Stunden.
Ein anderer setzt die Perlen ohne Spezialwerkzeug.
Einige hatten anfangs Schwierigkeiten, aber sie haben es geschafft.
Achten Sie auf Sicherheitsrisiken. Menschen können sich verletzen, wenn sie das Training auslassen. Die Nichtbenutzung des Drop Centers kann zu Problemen führen. Die Verwendung von Stangen anstelle von Schiebern ist nicht sicher. Befolgen Sie immer die Sicherheitsmaßnahmen und tragen Sie die richtige Ausrüstung. BRS WHEEL ist die erste Wahl bei ATV-Radhersteller und Hersteller von Stahlfelgen. Sie stellen ATV-Felgen her, die leicht zu montieren sind und lange halten. Mit Geduld und Planung, können Sie dies selbst tun.
Wichtigste Erkenntnisse
Besorgen Sie sich zuerst das benötigte Werkzeug. Sie brauchen Reifenlöffel, ein Ventilschaftwerkzeug und eine Sicherheitsausrüstung. Halten Sie diese bereit, bevor Sie den Reifen auf die Felge montieren.
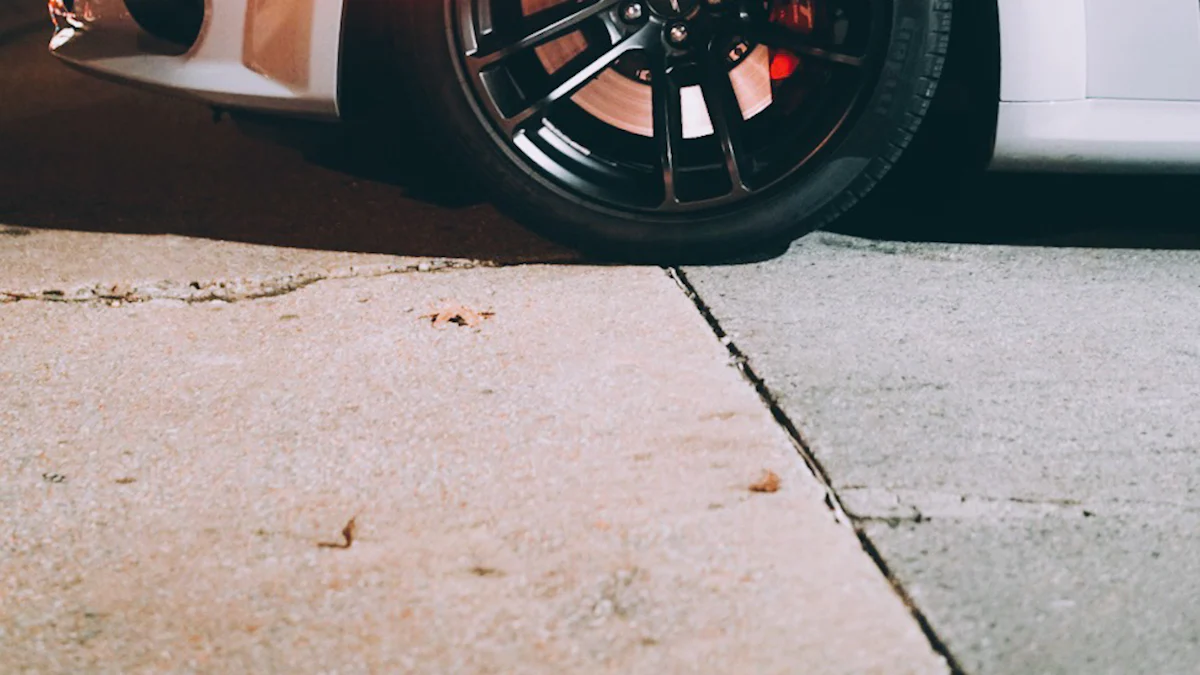
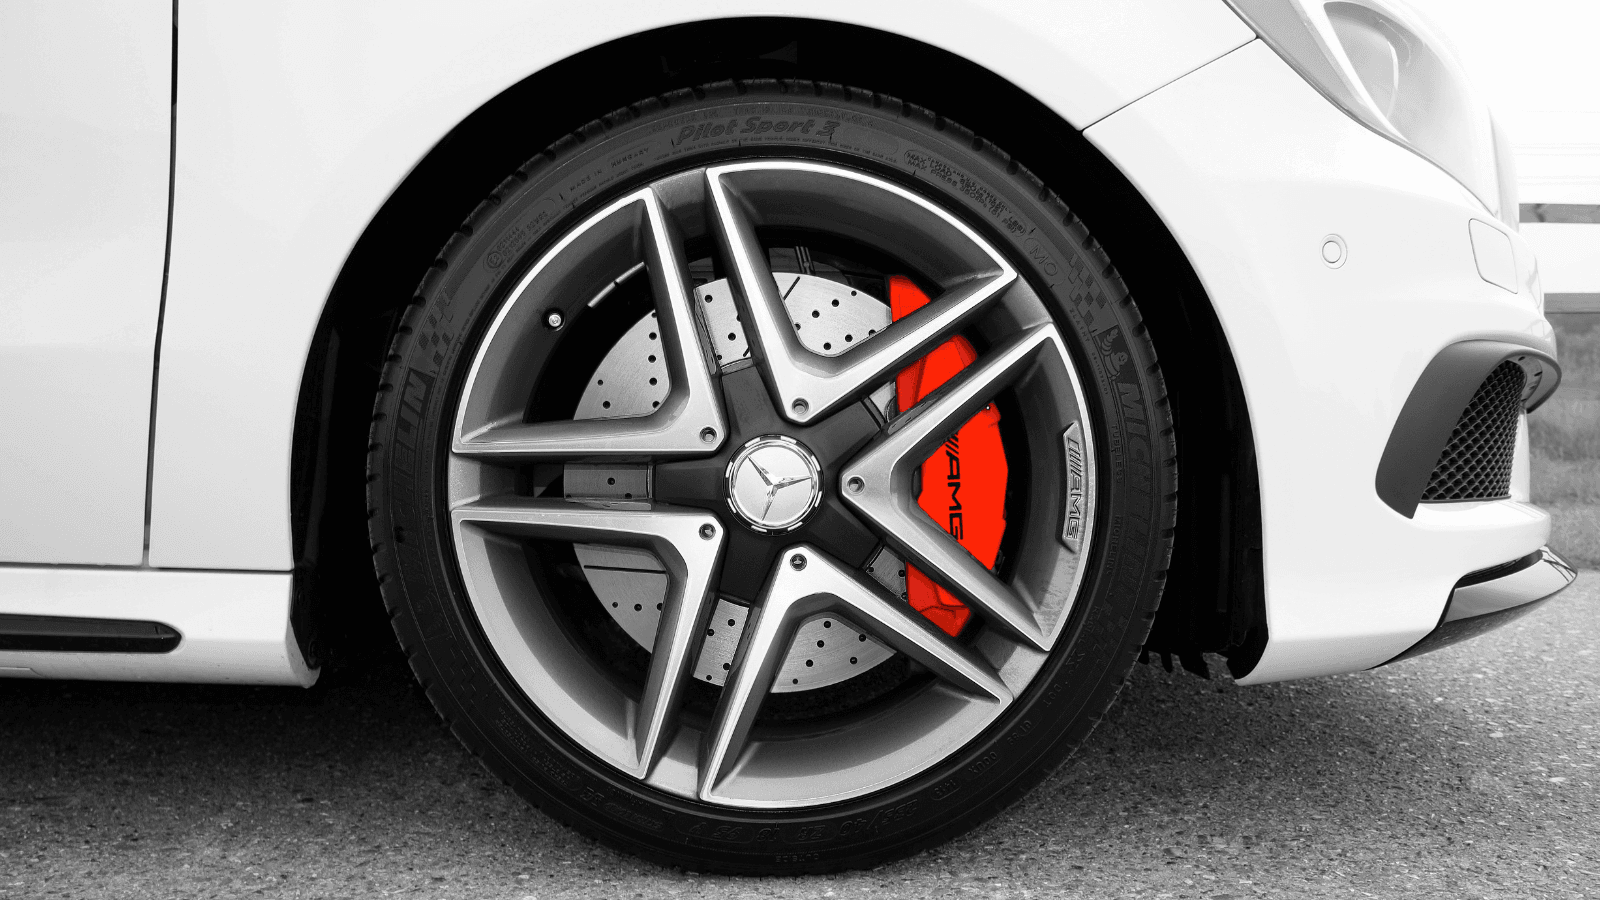
Wählen Sie gute ATV-Felgen für Ihr Fahrzeug. BRS WHEEL-Felgen funktionieren gut und halten länger. Gute Felgen helfen Ihrem ATV, besser zu funktionieren.
Führen Sie jeden Schritt langsam und sorgfältig aus. Reinigen Sie die Felge, bevor Sie den Reifen aufziehen. Vergewissern Sie sich, dass der Wulst richtig sitzt. Prüfen Sie auf Undichtigkeiten, um sicher zu sein und sicherzustellen, dass der Reifen gut funktioniert.
Werkzeuge und Vorbereitung für ATV-Felgen
Wichtige Werkzeuge für die Montage
Bevor Sie beginnen, sollten Sie alle benötigten Werkzeuge und Ausrüstungen zusammensuchen. Das macht die Arbeit reibungsloser und sicherer. Folgende Dinge sollten Sie bereithalten:
Reifenwechsel-Löffel oder große Schraubenzieher
Werkzeug für Ventilschaft
Schmiermittel oder Seifenlauge
Luftkompressor
Ratschengurt
Handschuhe
Schutzbrille
Arbeitsstiefel
Tipp: Tragen Sie immer Handschuhe und eine Schutzbrille. Sie wollen Ihre Hände und Augen vor scharfen Kanten und umherfliegenden Trümmern schützen.
Mit diesen Werkzeugen können Sie alte Reifen entfernen, neue montieren und sicherstellen, dass der Reifenwulst gut auf den Felgen Ihres Fahrzeugs sitzt. Seifenwasser hilft, dass der Reifen auf die Felge gleitet. Der Ratschengurt kann helfen, den Wulst zu setzen, wenn er hartnäckig ist.
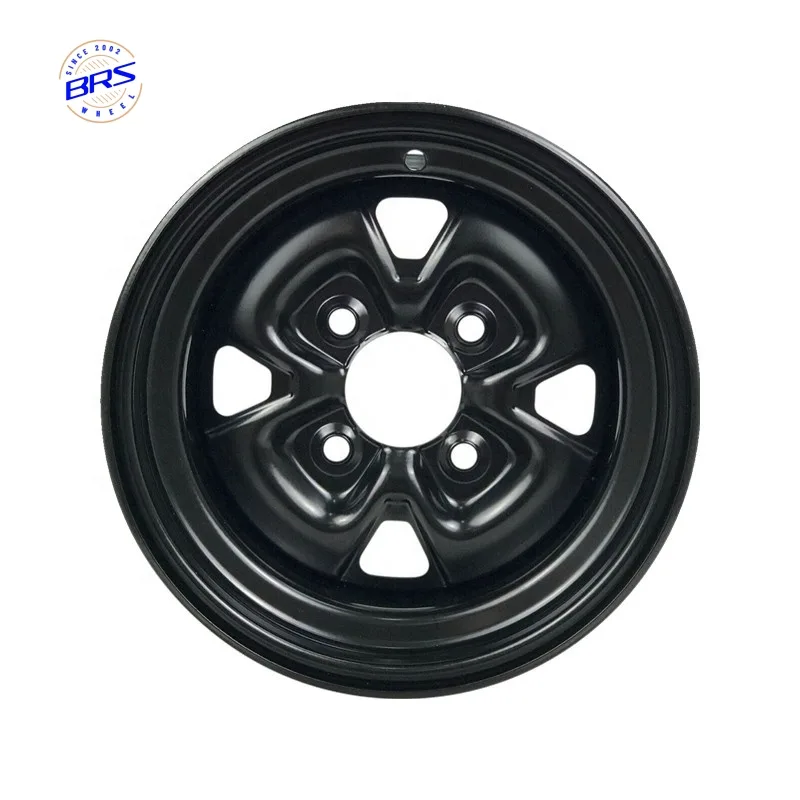
Die Wahl der richtigen ATV-Felgen
Die Wahl der richtigen ATV-Felgen ist genauso wichtig wie die Wahl des richtigen Werkzeugs. BRS WHEEL zeichnet sich als eine vertrauenswürdige Marke für ATV-Felgen aus. Ihre Stahlfelgen sind robust, zuverlässig und passen auf viele ATV-Modelle. Hier ist ein kurzer Blick darauf, wie BRS WHEEL im Vergleich zu anderen Marken abschneidet:
Merkmal | BRS WHEEL ATV-Felgen | Andere führende Marken |
|---|---|---|
Material | Stahl | Variiert |
Schlagabsorption | Hoch | Mäßig bis hoch |
Langlebigkeit der Pulverbeschichtung | Ausgezeichnet | Variiert |
Korrosionsbeständigkeit | Hoch | Variiert |
Achten Sie bei der Auswahl von ATV-Felgen auf diese wichtigen Faktoren:
Raddurchmesser und -breite
Bolzenmuster
Versatz und Rücksprung
Reifengröße
Stahl-ATV-Felgen sind robust und erschwinglich. Aluminiumfelgen sind leichter, können aber auch leichter beschädigt werden. Beadlock-Felgen halten die Reifen bei harten Offroad-Fahrten sicher. Vergewissern Sie sich, dass Ihre neuen Felgen zu den Spezifikationen Ihres ATV passen, um die beste Passform und Leistung zu gewährleisten.
Schritt-für-Schritt-Anleitung zur Reifenmontage
Die Montage von ATV-Reifen zu Hause kann sich wie eine große Aufgabe anfühlen, aber Sie können es schaffen, wenn Sie jeden Schritt befolgen. Dieser Leitfaden führt Sie durch den Prozess, hilft Ihnen, häufige Fehler zu vermeiden, und halten Sie sicher. Lassen Sie uns mit dieser Schritt-für-Schritt-Anleitung zur Reifenmontage beginnen.
Entfernen Sie das Rad und lassen Sie die Luft aus dem Reifen
Vergewissern Sie sich zunächst, dass Sie das richtige Werkzeug zur Hand haben. Parken Sie Ihr ATV auf einer ebenen Fläche und ziehen Sie die Feststellbremse an. Lösen Sie die Schrauben am Rad mit einem Radmutternschlüssel oder einer Schlagschrauberpistole. Entfernen Sie sie noch nicht ganz. Sobald die Schrauben gelöst sind, heben Sie das ATV mit einem Wagenheber an und entfernen Sie die Schrauben vollständig. Nehmen Sie das Rad vom ATV ab.
Nehmen Sie dann die Ventilkappe ab und lassen Sie mit einem Ventilschaftwerkzeug die gesamte Luft aus dem Reifen. Dieser Schritt ist wichtig für eine sichere Demontage. Tragen Sie immer Handschuhe und eine Schutzbrille, um Ihre Hände und Augen vor scharfen Felgenkanten oder umherfliegenden Trümmern zu schützen.
Tipp: Überprüfen Sie vor der Demontage den Reifentyp. Vergewissern Sie sich, dass Sie wissen, ob Sie 4-lagige, 6-lagige oder 8-lagige Reifen haben. So können Sie vermeiden, dass Sie später den falschen Reifentyp montieren.
Abdrücken des Wulstes und Entfernen des alten Reifens
Jetzt müssen Sie den Reifenwulst aufbrechen. Der Wulst ist die Kante des Reifens, die gegen die Felge abdichtet. Dieser Teil kann kleben, also nehmen Sie sich Zeit. Sie können ein BeadBuster-Werkzeug, ein tragbares Werkzeug zum Reifenwechseln oder sogar eine Heimwerkermethode mit Seifenwasser und einem 2×4 verwenden. Setzen Sie das Werkzeug oder das Brett in der Nähe des Wulstes an und drücken Sie nach unten, bis der Wulst von der Felge abspringt. Wiederholen Sie den Vorgang auf beiden Seiten.
Hier ein kurzer Überblick über gängige Methoden zum Aufbrechen von Perlen:
Methode | Beschreibung |
|---|---|
BeadBuster | Klemmt sich an die Felge und drückt auf den Wulst, um ihn schnell und sicher zu lösen. |
Tragbare Werkzeuge | Sie sind billiger, müssen aber an ein schweres Objekt geschraubt werden, eignen sich aber gut für die meisten Reifen. |
DIY-Methode | Verwenden Sie Seifenwasser und ein 2×4, um den Reifen vom Wulst zu lösen. |
Sobald Sie den Wulst aufgebrochen haben, verwenden Sie Reifenlöffel oder große Schraubendreher, um den Reifen von der Felge zu lösen. Arbeiten Sie langsam um die Felge herum, um Beschädigungen zu vermeiden. Entfernen Sie den alten Reifen vollständig.
Anmerkung: Das Recycling von Altreifen ist wichtig. Werfen Sie sie nicht weg. Altreifen können Brände verursachen, Schädlinge anziehen und die Umwelt verschmutzen. Bringen Sie sie zu einem Recyclingzentrum.
Felge reinigen und neuen Reifen vorbereiten
Reinigen Sie die Felge gut, bevor Sie den neuen Reifen montieren. Verwenden Sie Wasser und einen Entfetter, um Schmutz, Fett oder altes Reifenschmiermittel zu entfernen. Achten Sie besonders auf den Wulstsitzbereich. Schmutz- oder Rostreste können später zu Undichtigkeiten führen.
Reinigen Sie die Felge mit Wasser und Entfettungsmittel.
Entfernen Sie alle Verunreinigungen aus dem Wulstsitz.
Trocknen Sie die Felge vollständig ab.
Bereiten Sie nun den neuen Reifen vor. Achten Sie auf Pfeile oder Etiketten auf der Seitenwand. Diese zeigen die richtige Montagerichtung an. Stellen Sie sicher, dass der Reifen zum Felgendurchmesser passt. Tragen Sie eine dünne Schicht Seifenwasser oder Reifenwulstschmiermittel sowohl auf die Felge als auch auf den Reifenwulst auf. Dies erleichtert das Aufziehen und den richtigen Sitz des Reifens.
Tipp: Passen Sie die Reifengröße immer an den Felgendurchmesser an, um die beste Passform und Leistung zu erzielen.
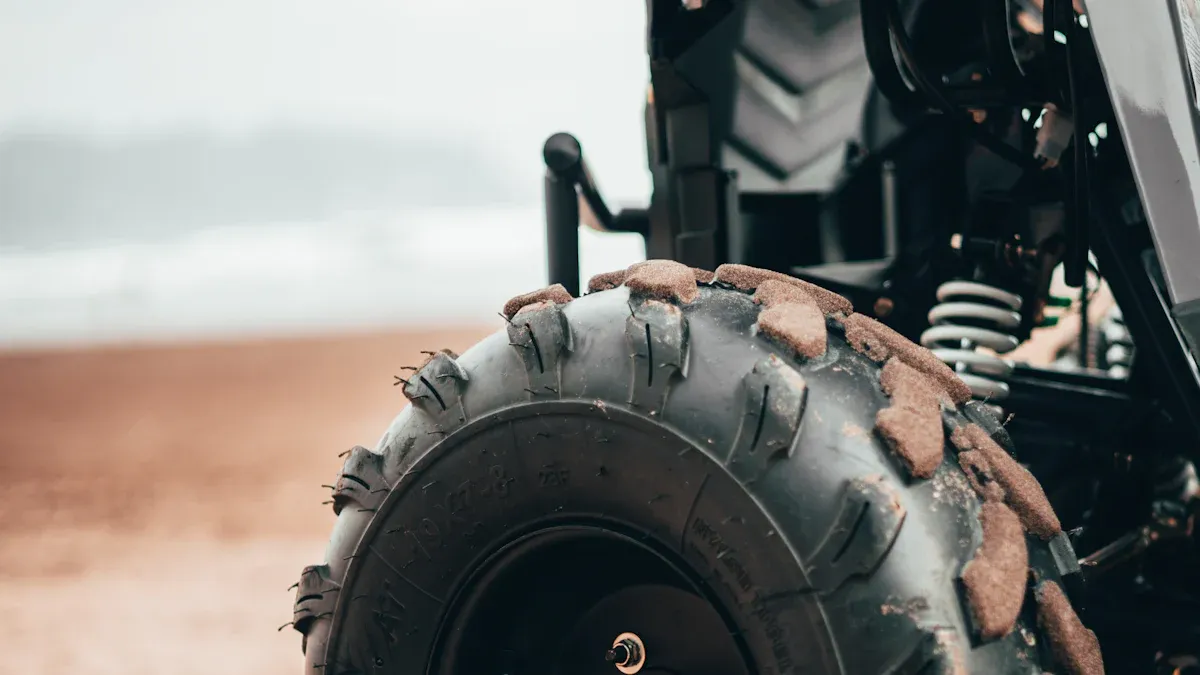
ATV-Reifen auf Felgen montieren
Es ist an der Zeit, den neuen Reifen zu montieren. Legen Sie die Felge flach auf den Boden. Richten Sie den Reifen so aus, dass der Richtungspfeil in die richtige Richtung zeigt. Schieben Sie einen Wulst über den Felgenrand. Bei steifen Reifen müssen Sie möglicherweise Ihre Hände und Ihr Körpergewicht einsetzen. Bei weicheren Reifen können Sie den Wulst mit beiden Händen aufdrücken.
Sobald der erste Wulst angebracht ist, verwenden Sie Reifenlöffel, um den zweiten Wulst vorsichtig über den Felgenrand zu schieben. Arbeiten Sie in kleinen Schritten um die Felge herum. Überstürzen Sie nichts. Wenn der Wulst festsitzt, fügen Sie mehr Seifenwasser hinzu. Achten Sie darauf, dass der Reifen gleichmäßig auf der Felge sitzt.
BRS WHEEL ATV-Felgen machen diesen Prozess einfacher. Ihre Stahlkonstruktion und die glatte Oberfläche erleichtern das Gleiten des Wulstes an seinen Platz. Diese Felgen gibt es in Größen von 6 bis 12 Zoll, so dass Sie die richtige Passform für Ihr ATV, Golfwagen oder Gartengerät finden können.
Aufforderung: Lassen Sie sich bei der Montage Zeit. Eile kann die Felge oder den Reifen beschädigen. Verwenden Sie geeignetes Werkzeug und reichlich Schmiermittel.
Reifen aufpumpen und den Wulst anbringen
Nun müssen Sie den Reifen aufpumpen und den Wulst anbringen. Schließen Sie einen Luftkompressor an den Ventilschaft an. Füllen Sie langsam Luft ein. Beobachten Sie, wie sich der Wulst auf die Felge setzt. Möglicherweise hören Sie ein Knacken, wenn der Wulst aufsitzt. Das ist normal.
Lassen Sie nicht zu viel Luft in den Reifen. Prüfen Sie den korrekten Druck auf der Reifenflanke.
Wenn der Wulst nicht sitzt, legen Sie einen Ratschengurt um die Mitte des Reifens. Ziehen Sie den Gurt fest, um den Wulst nach außen zu drücken, und versuchen Sie dann erneut, ihn aufzupumpen.
Achten Sie auf Anzeichen für einen unsachgemäßen Wulstsitz, wie ungleiche Spalten oder zu hohen Luftdruck. Wenn Sie diese Anzeichen feststellen, lassen Sie die Luft aus dem Reifen, geben Sie mehr Schmiermittel hinzu und versuchen Sie es erneut.
Sicherheitswarnung: Verwenden Sie niemals entflammbare Methoden, um einen Wulst zu setzen. Ein zu hoher Luftdruck kann zur Explosion des Reifens führen. Befolgen Sie stets die Sicherheitsvorschriften für die Reifenmontage.
Rad wieder einbauen und Reifen prüfen
Sobald der Wulst sitzt und der Reifen auf den richtigen Druck aufgepumpt ist, montieren Sie das Rad wieder auf Ihr ATV. Richten Sie die Felge mit der Nabe aus und ziehen Sie die Schrauben handfest an. Senken Sie das ATV ab und verwenden Sie einen Drehmomentschlüssel, um die Schrauben mit den richtigen Werten anzuziehen. Für Stahlfelgen verwenden Sie ein Trockendrehmoment von 27 ft/lbs. Für Leichtmetallfelgen verwenden Sie 30 ft/lbs.
Prüfen Sie den Reifen nach der Montage auf Undichtigkeiten. Sprühen Sie Seifenwasser um den Wulst und den Ventilschaft. Suchen Sie nach Blasen. Wenn Sie welche sehen, müssen Sie möglicherweise den Wulst neu abdichten oder den Ventilschaft ersetzen.
Überprüfen Sie die Richtung des Reifenprofils. Vergewissern Sie sich, dass die Pfeile oder Aufkleber mit der richtigen Drehrichtung übereinstimmen. Prüfen Sie, ob der Reifen gleichmäßig auf der Felge sitzt. Machen Sie eine kurze Fahrt mit Ihrem ATV und achten Sie auf ungewöhnliche Geräusche.
Im Folgenden finden Sie eine kurze Tabelle mit den häufigsten Ursachen für undichte Stellen und wie Sie diese verhindern können:
Häufige Ursachen für ATV-Reifenlecks | Vorbeugende Maßnahmen |
|---|---|
Wulstleckagen durch Schmutz oder unsachgemäßen Sitz | Felgen sauber und rostfrei halten |
Leckagen am Ventilschaft | Regelmäßige Inspektion der Ventilschäfte |
Einstiche durch scharfe Gegenstände | Fahren Sie oft, vermeiden Sie untätige Reifen |
Schäden an den Seitenwänden oder Hausschwamm | ATV richtig lagern |
Letzter Schritt: Prüfen Sie alle Schrauben und den Reifendruck, bevor Sie losfahren. Wenn Sie sich bei irgendeinem Schritt unsicher fühlen, bitten Sie einen Fachmann um Hilfe.
Die Montage von ATV-Reifen zu Hause ist ein Prozess, den Sie mit Geduld und dem richtigen Werkzeug bewältigen können. BRS WHEEL-Felgen bieten einen festen Sitz und machen die Reifenmontage einfacher. Befolgen Sie jeden Schritt, verwenden Sie Seifenwasser, und stellen Sie die Sicherheit immer an erste Stelle. Jetzt wissen Sie, wie Sie den neuen Reifen auf die Felge ziehen und Ihre nächste Fahrt genießen können!
Sie können ATV-Reifen zu Hause montieren, wenn Sie jeden Schritt befolgen und sicher bleiben. Qualitätsfelgen wie BRS WHEEL bieten Ihnen eine bessere Leistung und halten länger:
Verbesserung von Beschleunigung und Bremsen
Korrosionsbeständigkeit über Jahre hinweg
Widersteht Hitze und harten Fahrten
Tipp zur Lagerung | Warum es wichtig ist |
|---|---|
Reifen aufpumpen | Verhindert flache Stellen |
Verwenden Sie einen atmungsaktiven Bezug | Stoppt Feuchtigkeit und Rost |
Wenn Sie sich unsicher sind, fragen Sie einen Fachmann um Hilfe. BRS WHEEL-Felgen werden mit klaren Garantiebedingungen geliefert, damit Sie wissen, was Sie erwarten können.
FAQ
Wie können Sie feststellen, ob Ihr ATV-Reifen richtig sitzt?
Achten Sie auf einen gleichmäßigen Abstand zwischen Reifen und Felge. Sie sollten ein Knacken hören, wenn der Wulst aufsitzt. Prüfen Sie mit Seifenwasser auf Undichtigkeiten.
Kann man ATV-Reifen ohne Spezialwerkzeug montieren?
Ja, Sie können Reifenlöffel, Seifenwasser und einen Ratschengurt verwenden. Nehmen Sie sich Zeit. Tragen Sie zum Schutz immer Handschuhe und eine Schutzbrille.
Welche Felgengröße passt zu meinem ATV-Reifen?
Prüfen Sie die Seitenwand Ihres Reifens auf Größenmarkierungen. Stimmen Sie den Felgendurchmesser und die Breite mit diesen Zahlen ab. Wenn Sie unsicher sind, bitten Sie Ihren ATV-Händler um Hilfe.